Home Assistant
Home Assistant is an open-source platform which lets you integrate smart home devices of any kind!
Home Assistant now works with Crownstone. Switching and dimming your Crownstones, getting presence updates, it’s all possible in your Home Assistant. Do you already have Philips Hue lights or Fibaro switches? No problem! Home Assistant lets you use Crownstone’s unique presence detection on room level to create automations with any other device in Home Assistant!
Everything works together, as it should.
How do I get Home Assistant?
Home Assistant itself is 100% free! To install Home Assistant follow the Installation guide.
Getting started
If you followed the installation guide, your Home Assistant should be up and running! Awesome! In this guide we will show you how to set up the Crownstone integration directly as Home Assistant integration and through HACS (Home Assistant Community Store).
Option 1: Directly as Home Assistant integration
Adding the Crownstone integration in HACS
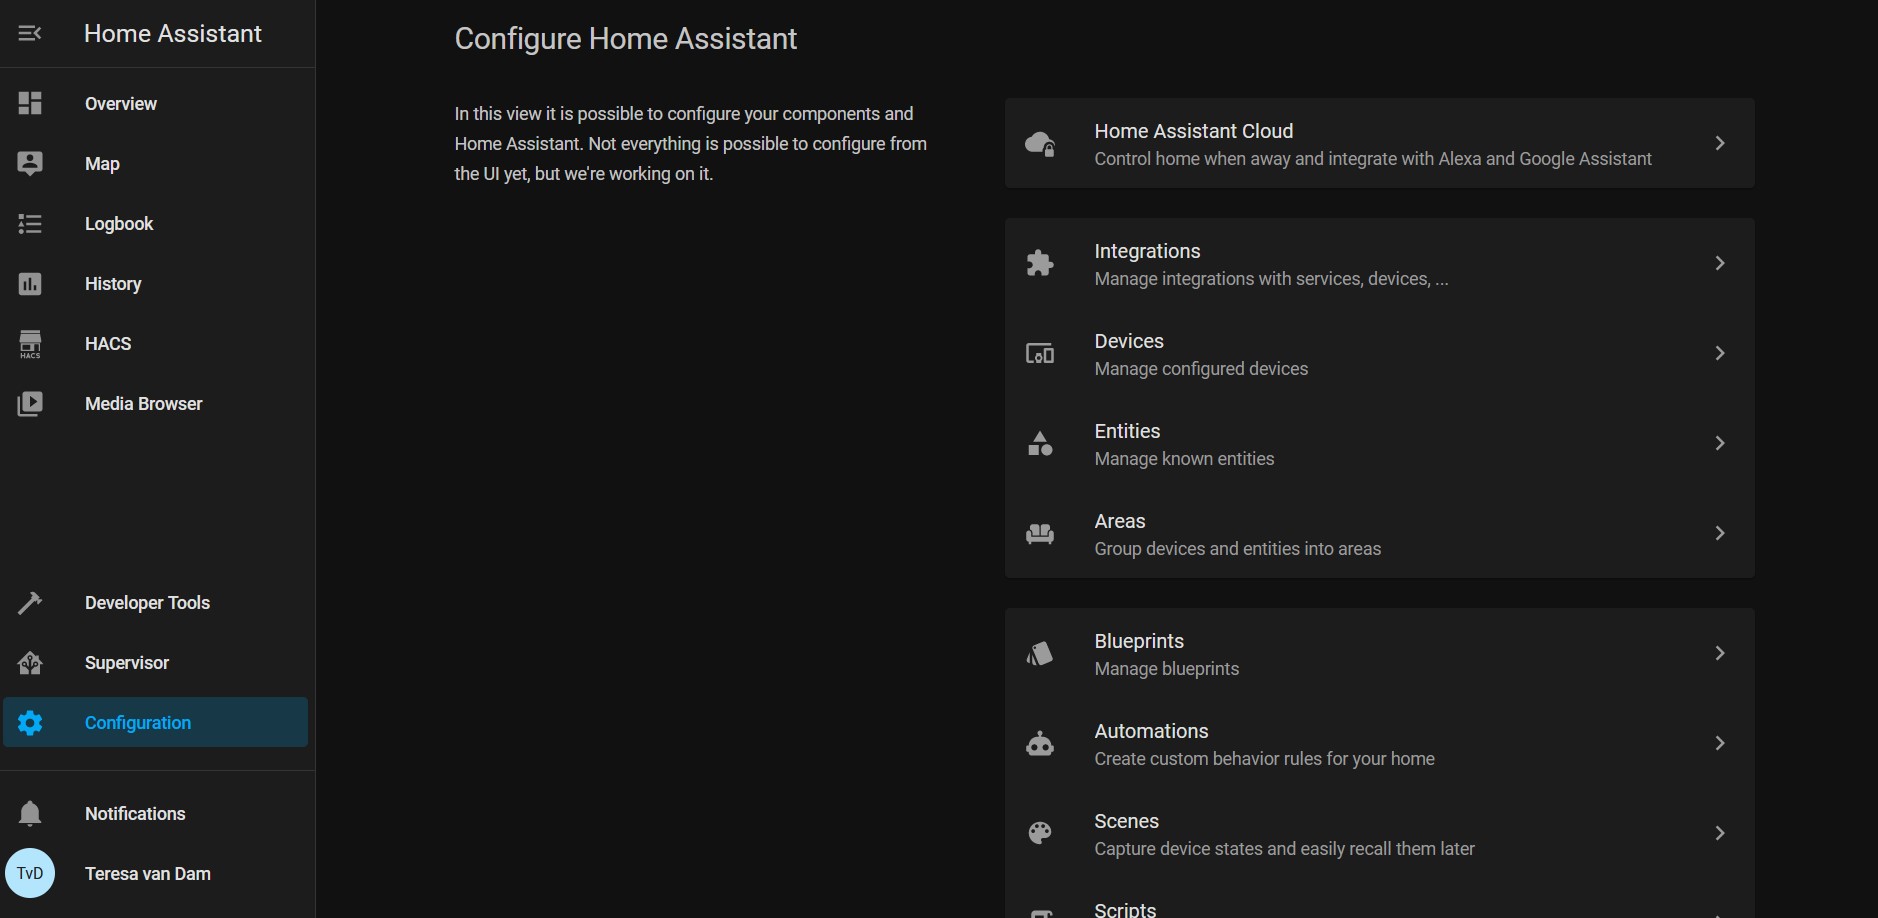
Step 1: Go to the Configuration menu located at the side bar from your dashboard

Step 2: Click on the Integrations section from the configuration menu
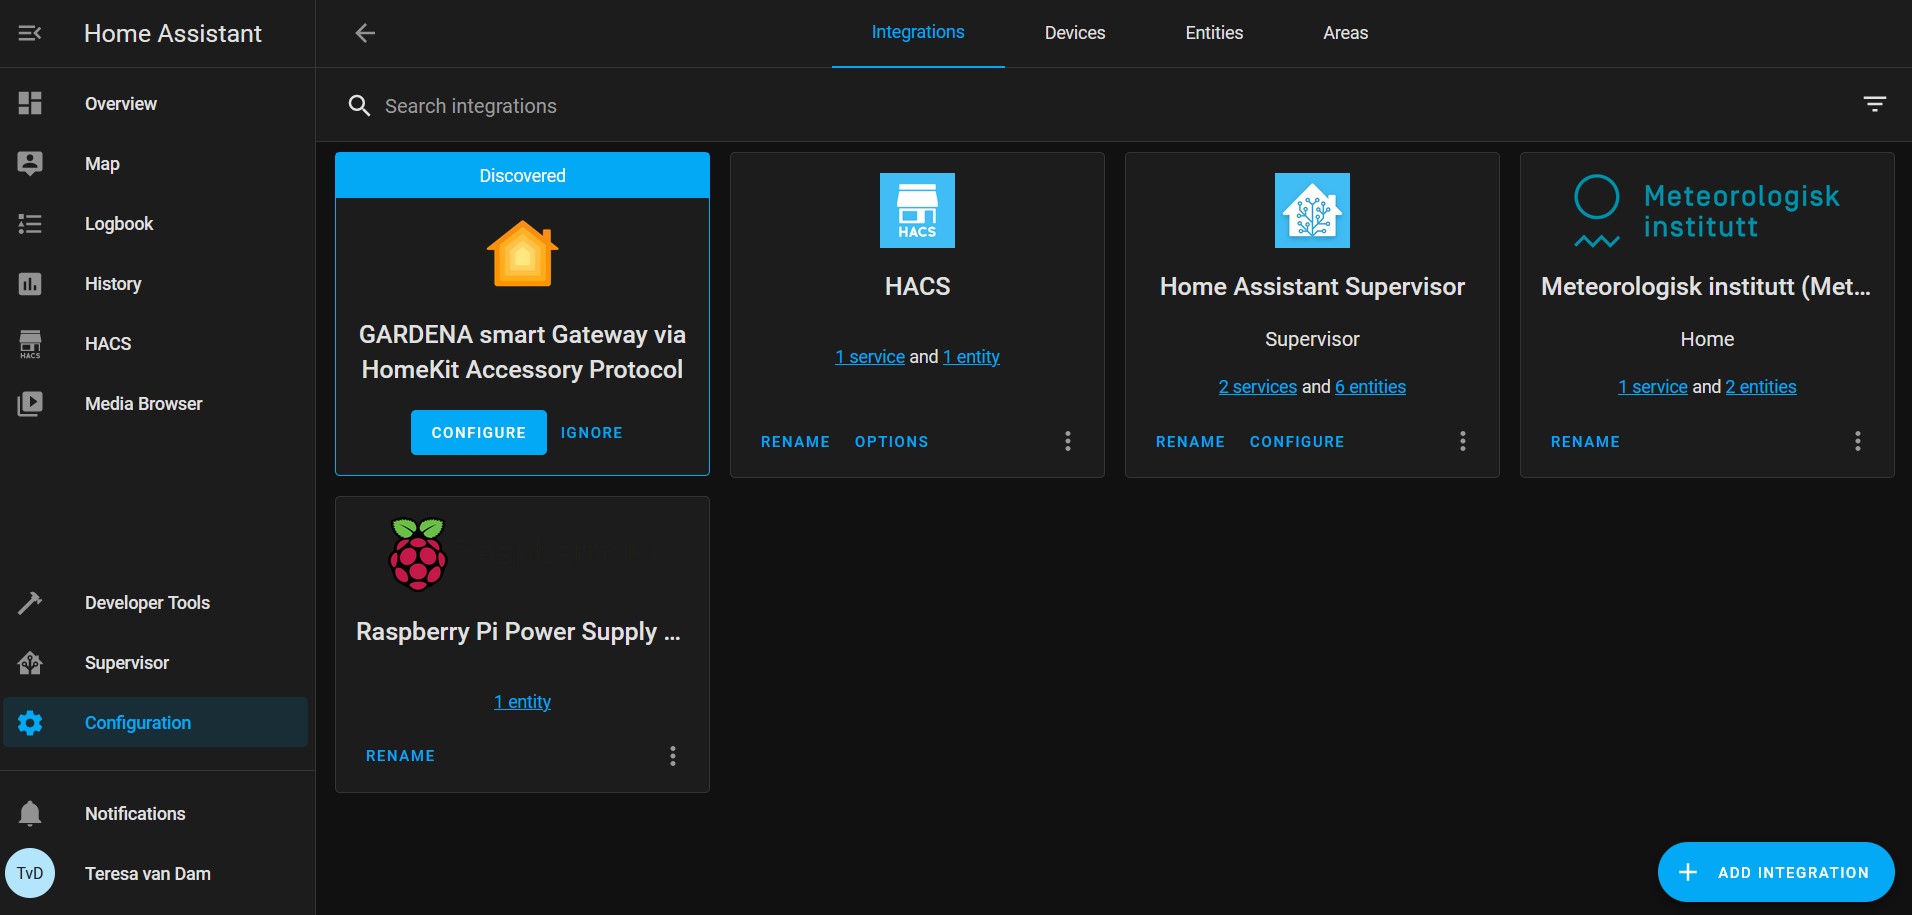
Step 3: Click on the Add Integration button located at the bottom right corner
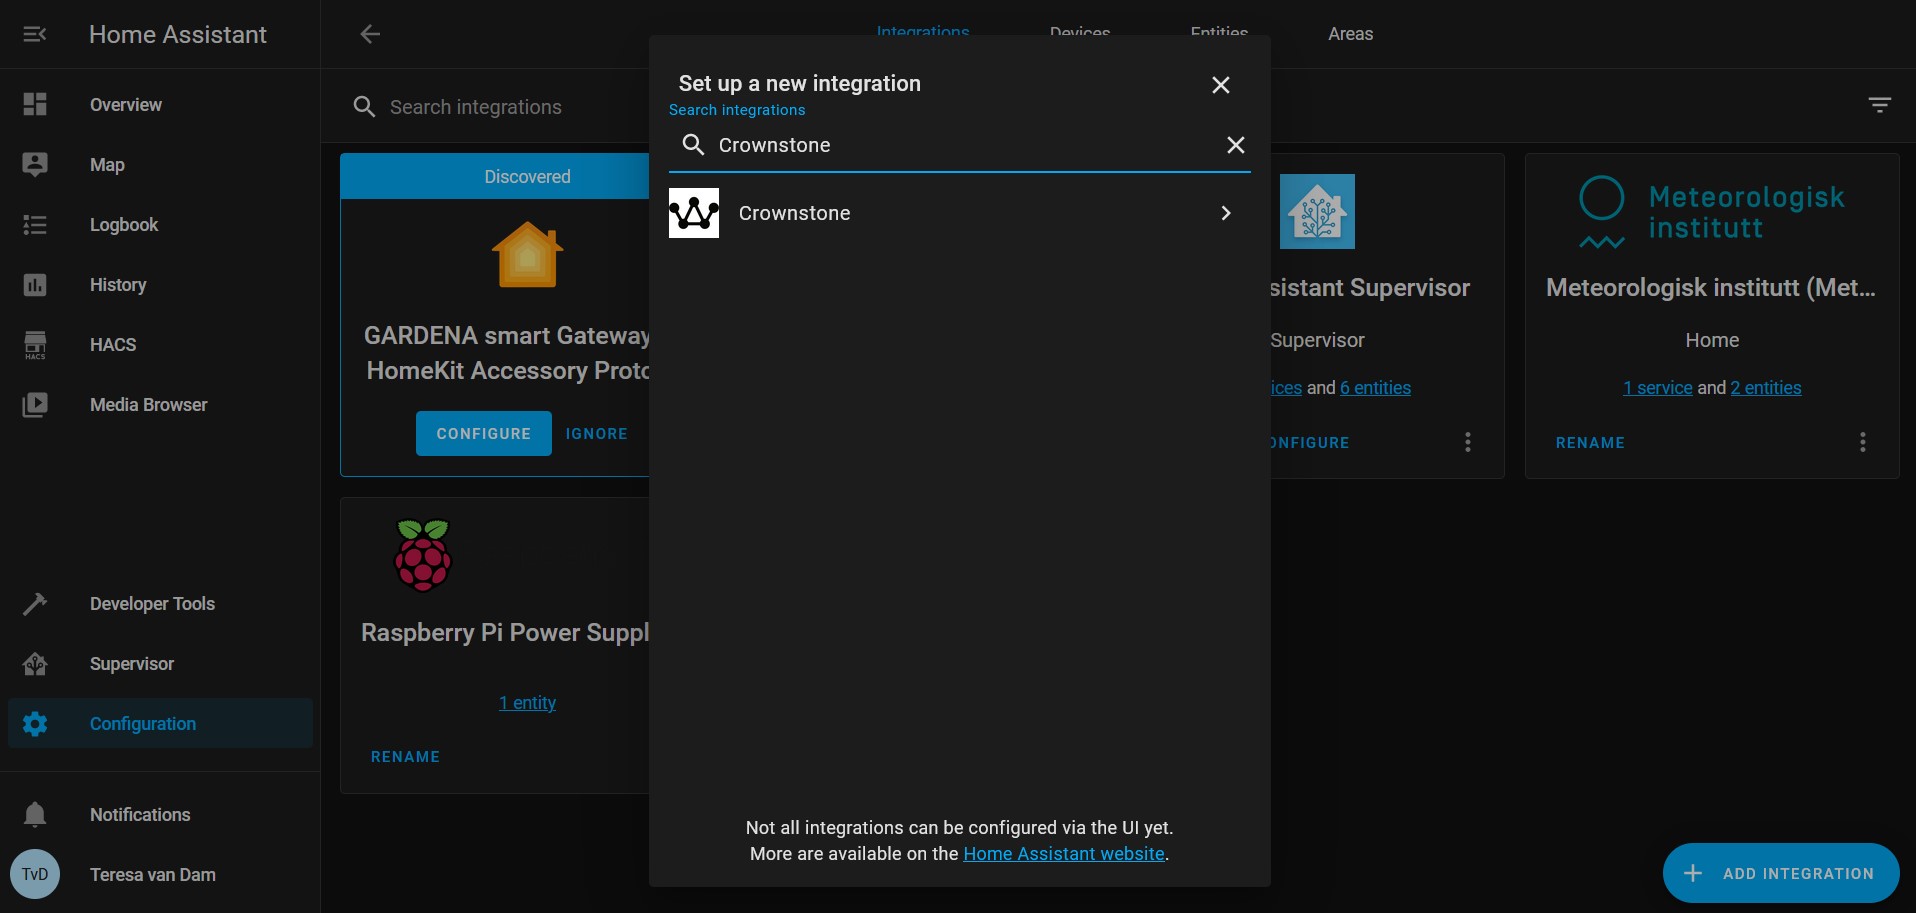
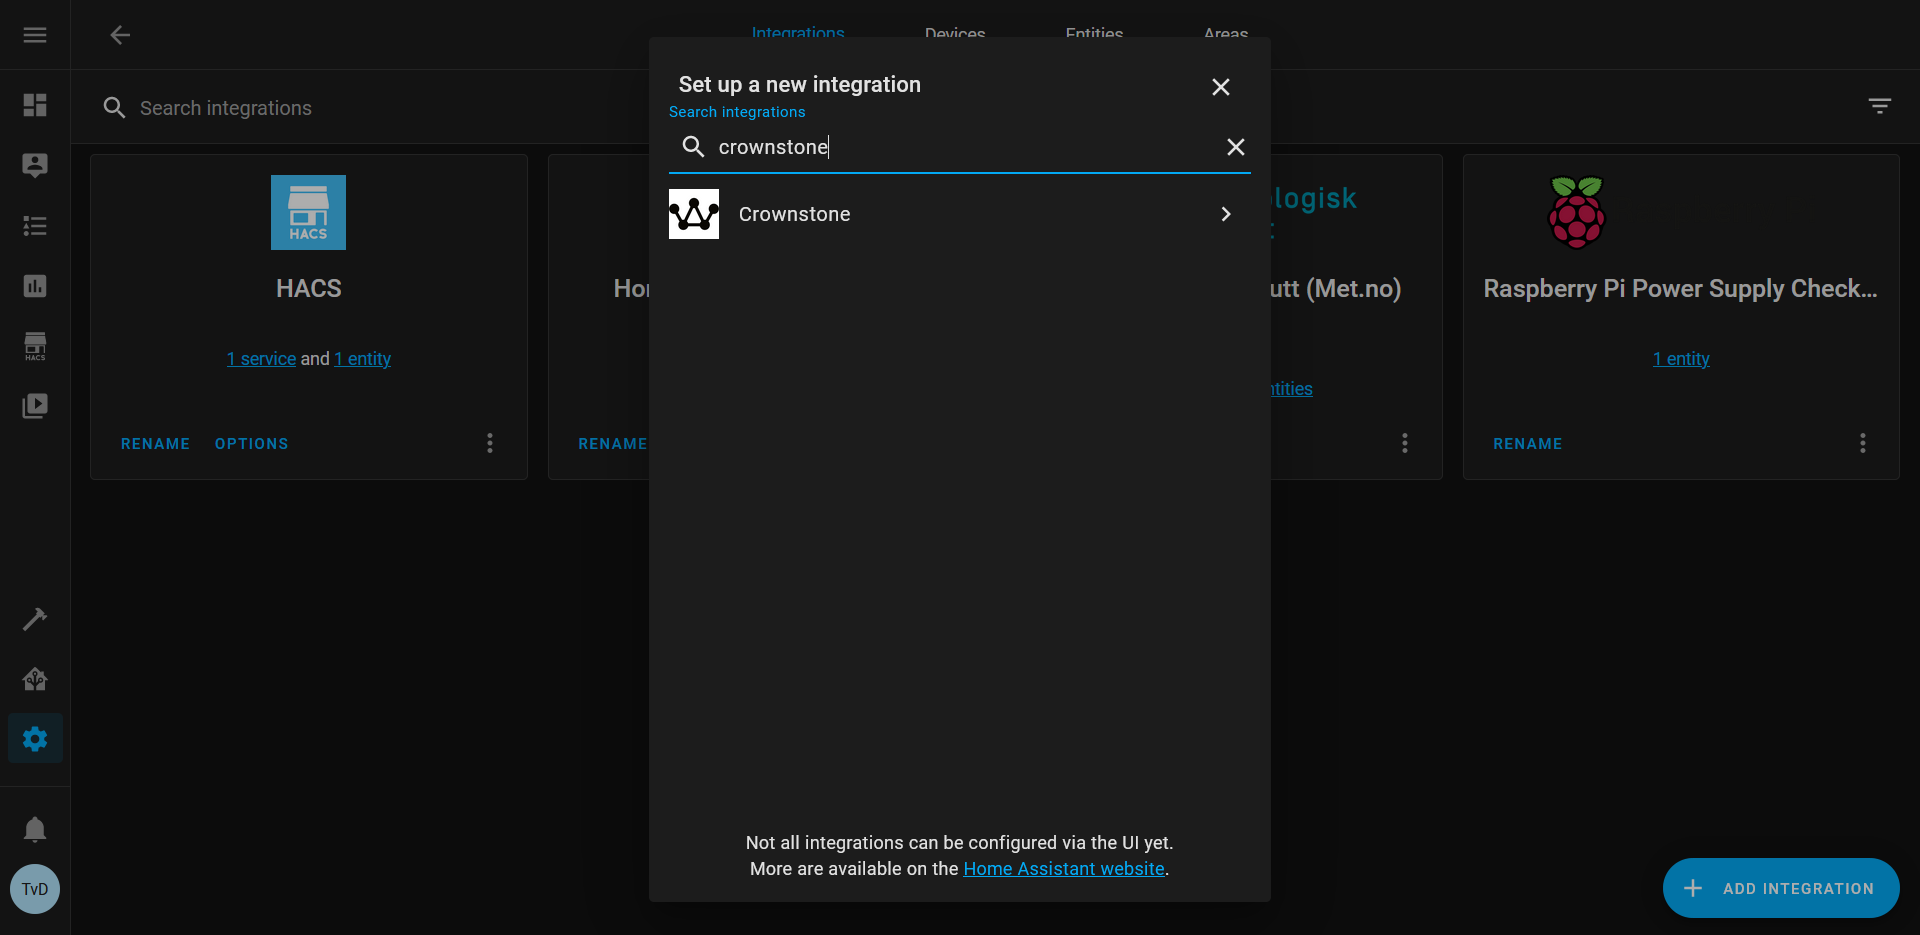
Step 4: Type Crownstone on the search field of the window that just got opened. Then click on the arrow to continue.
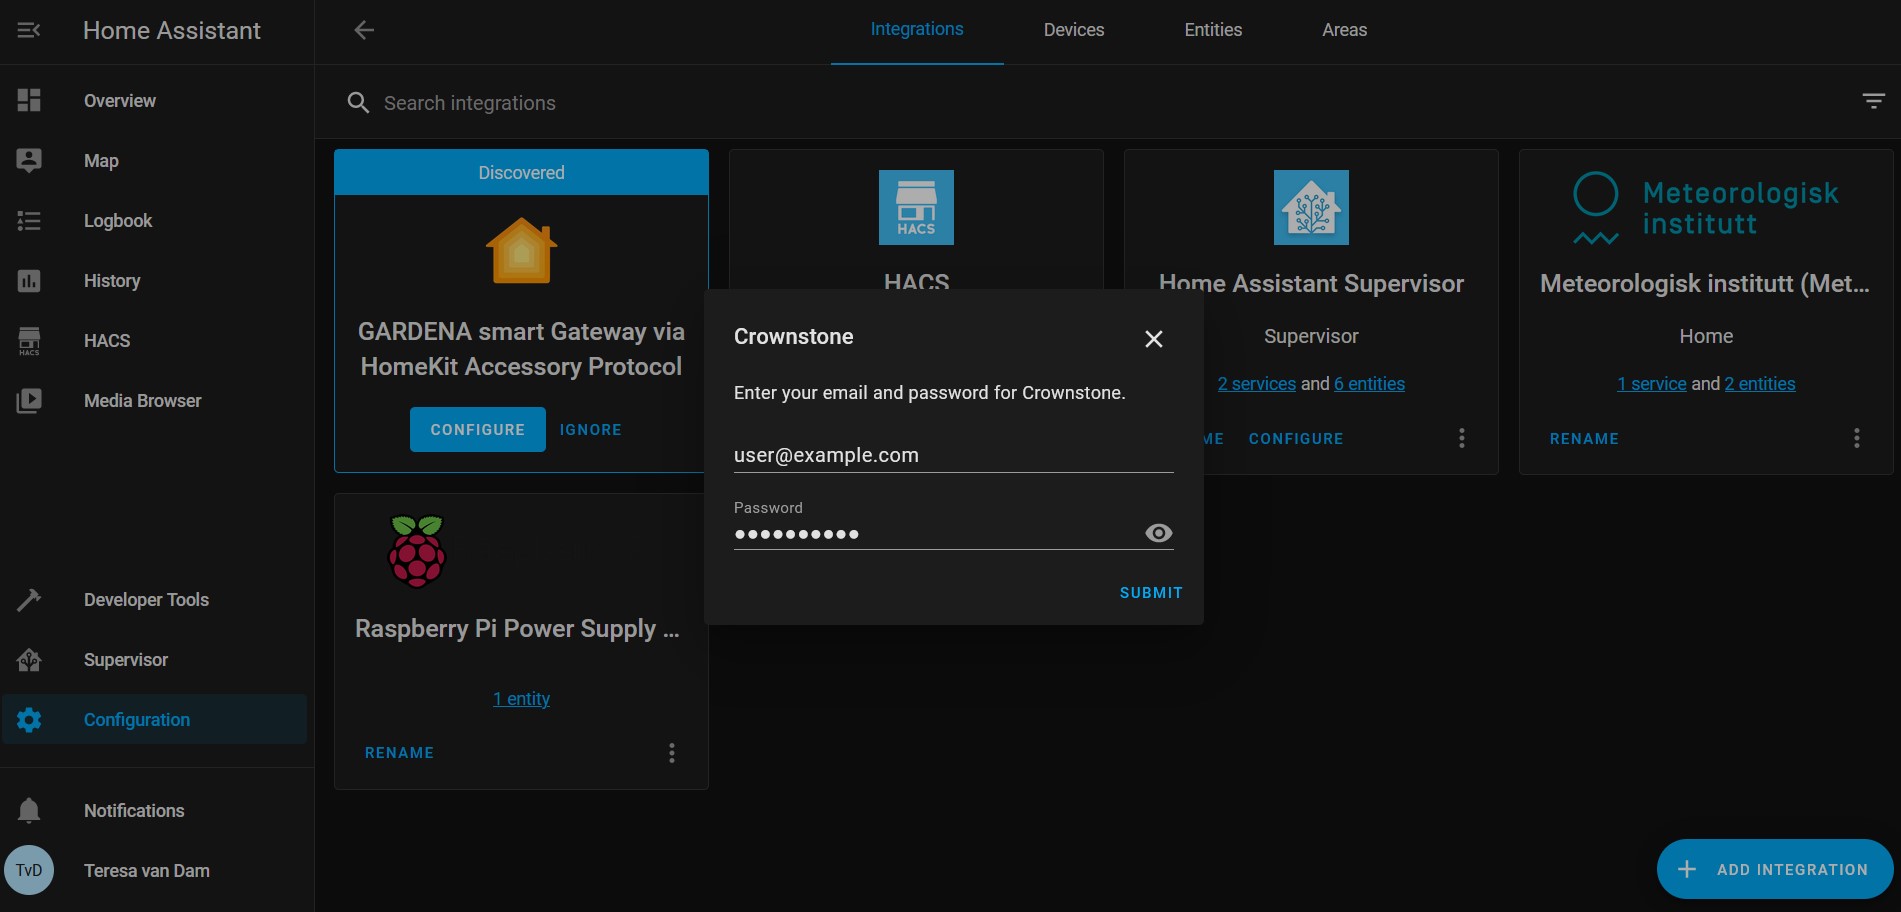
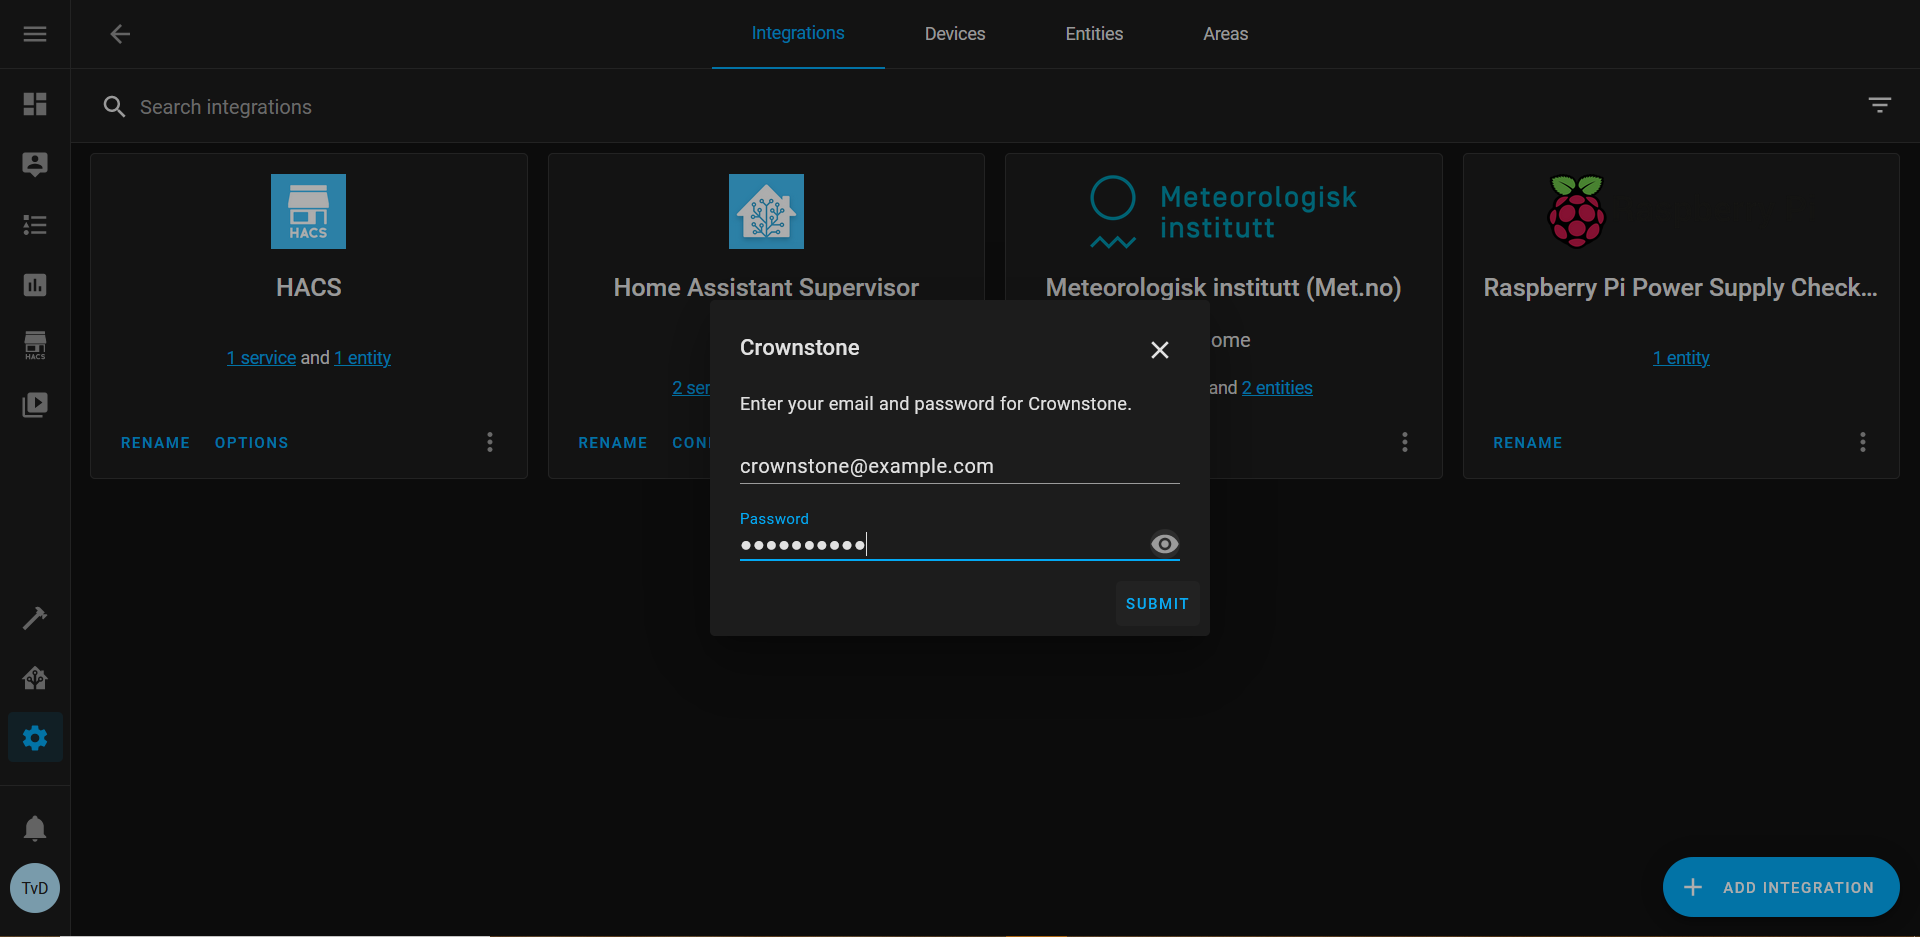
Step 5: Enter your email and password of your Crownstone account, and click on Submit.
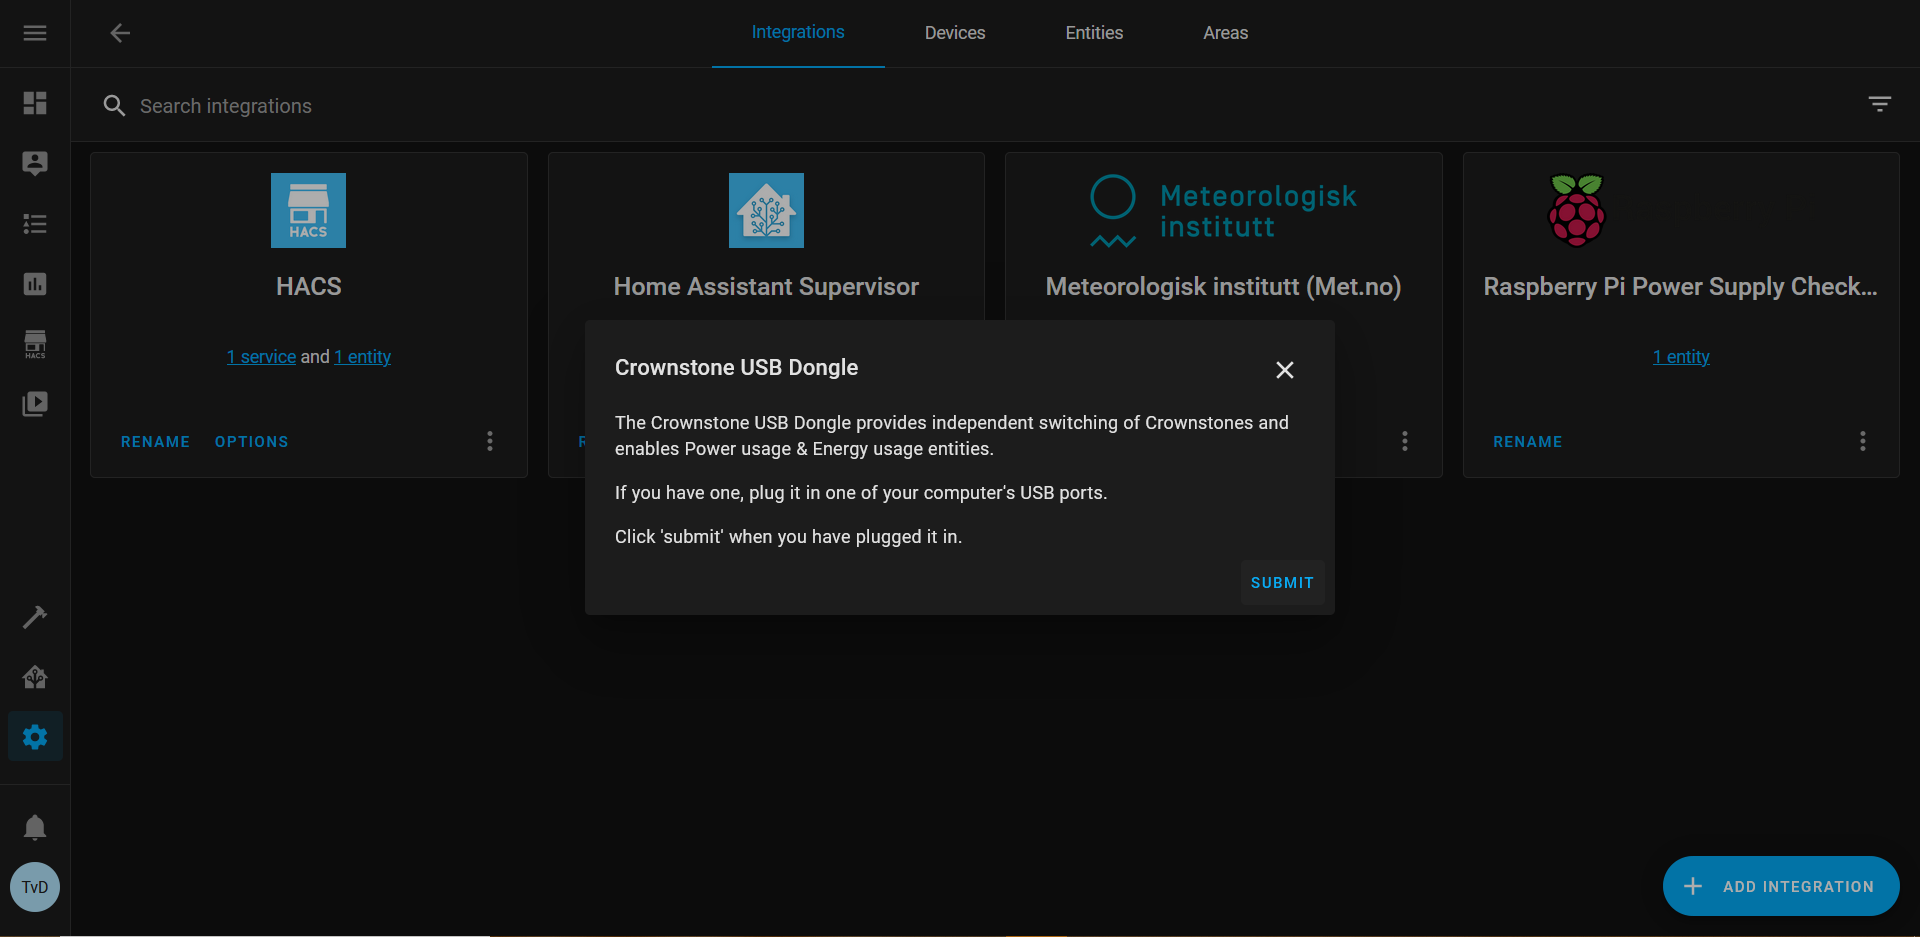
Step 6: Plug the Crownstone USB Dongle in one of your computer’s USB ports. The dongle provides independent switching of Crownstones (no smartphone required) and enables the power & energy usage entities. Verify that the dongle is plugged in before continuing.
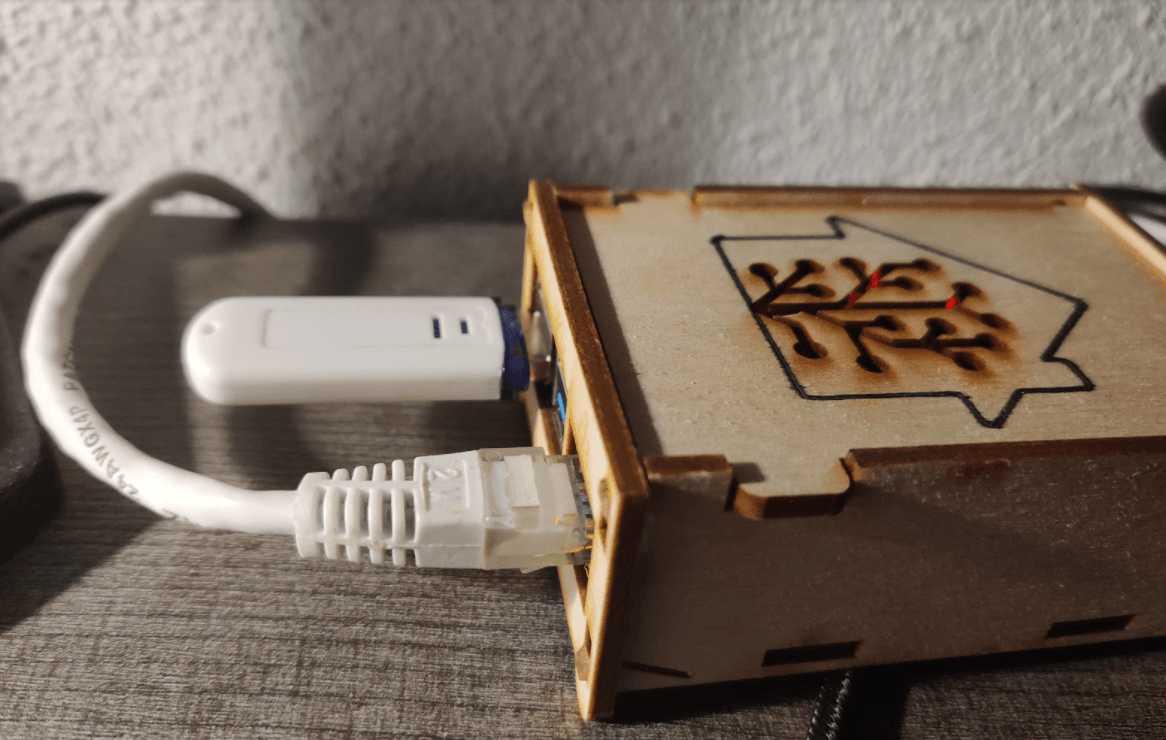
Step 7: Head over to the Crownstone app on your phone, tap the + button, select Crownstone -> Crownstone USB and follow the steps.
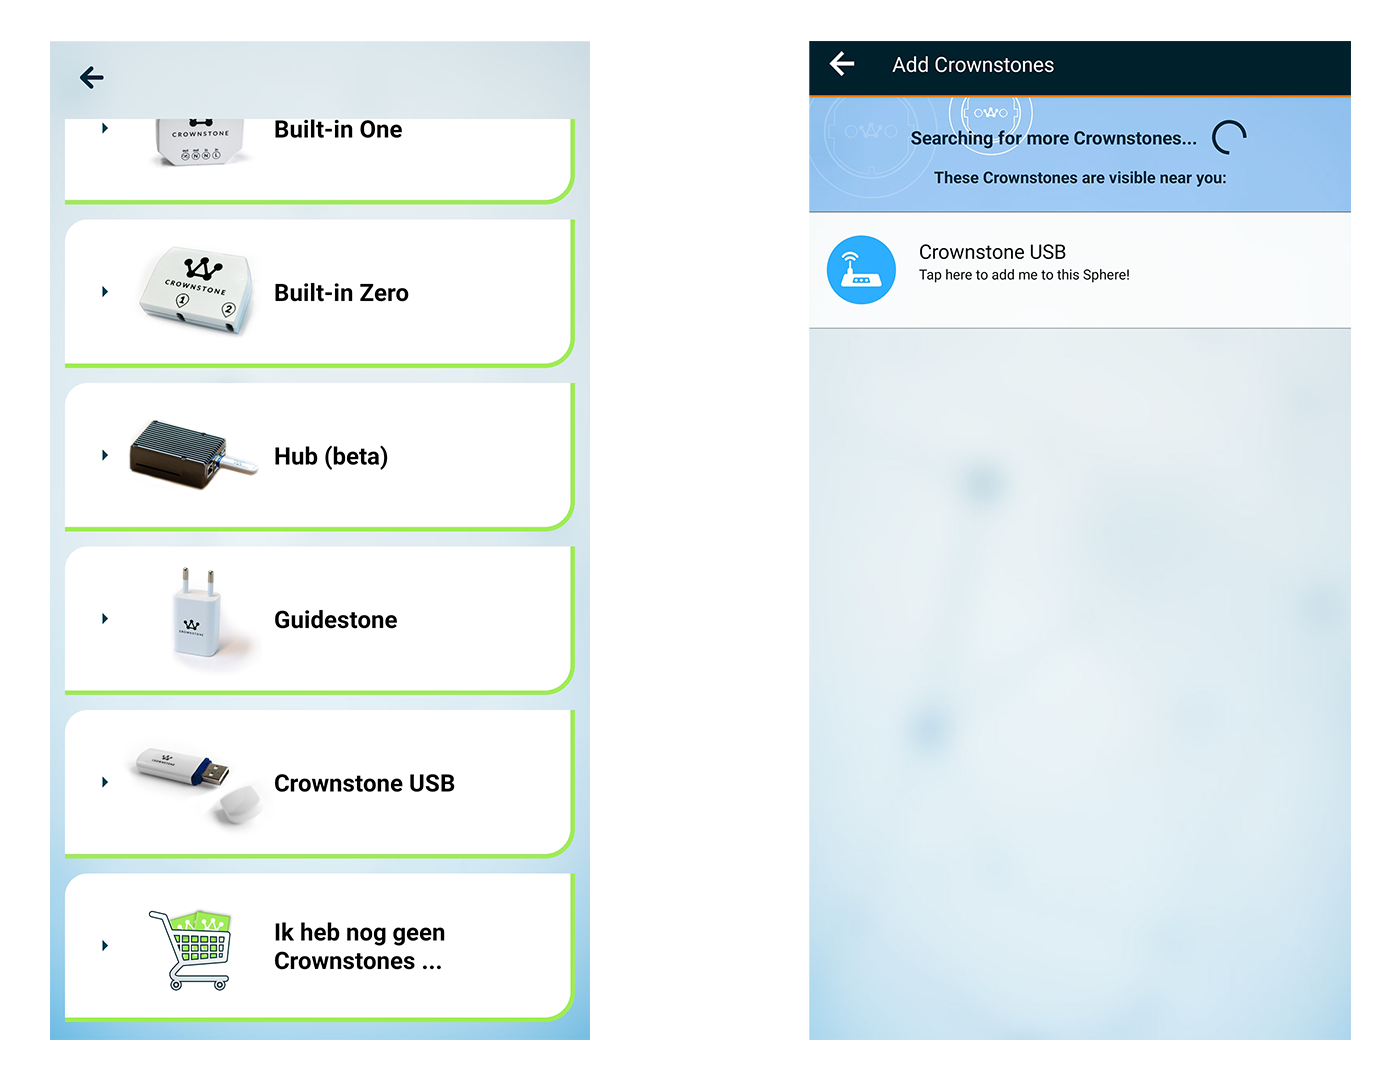
Step 8: After plugging in your dongle in one of your computer’s USB ports (e.g. Raspberry Pi 4), click on Submit.

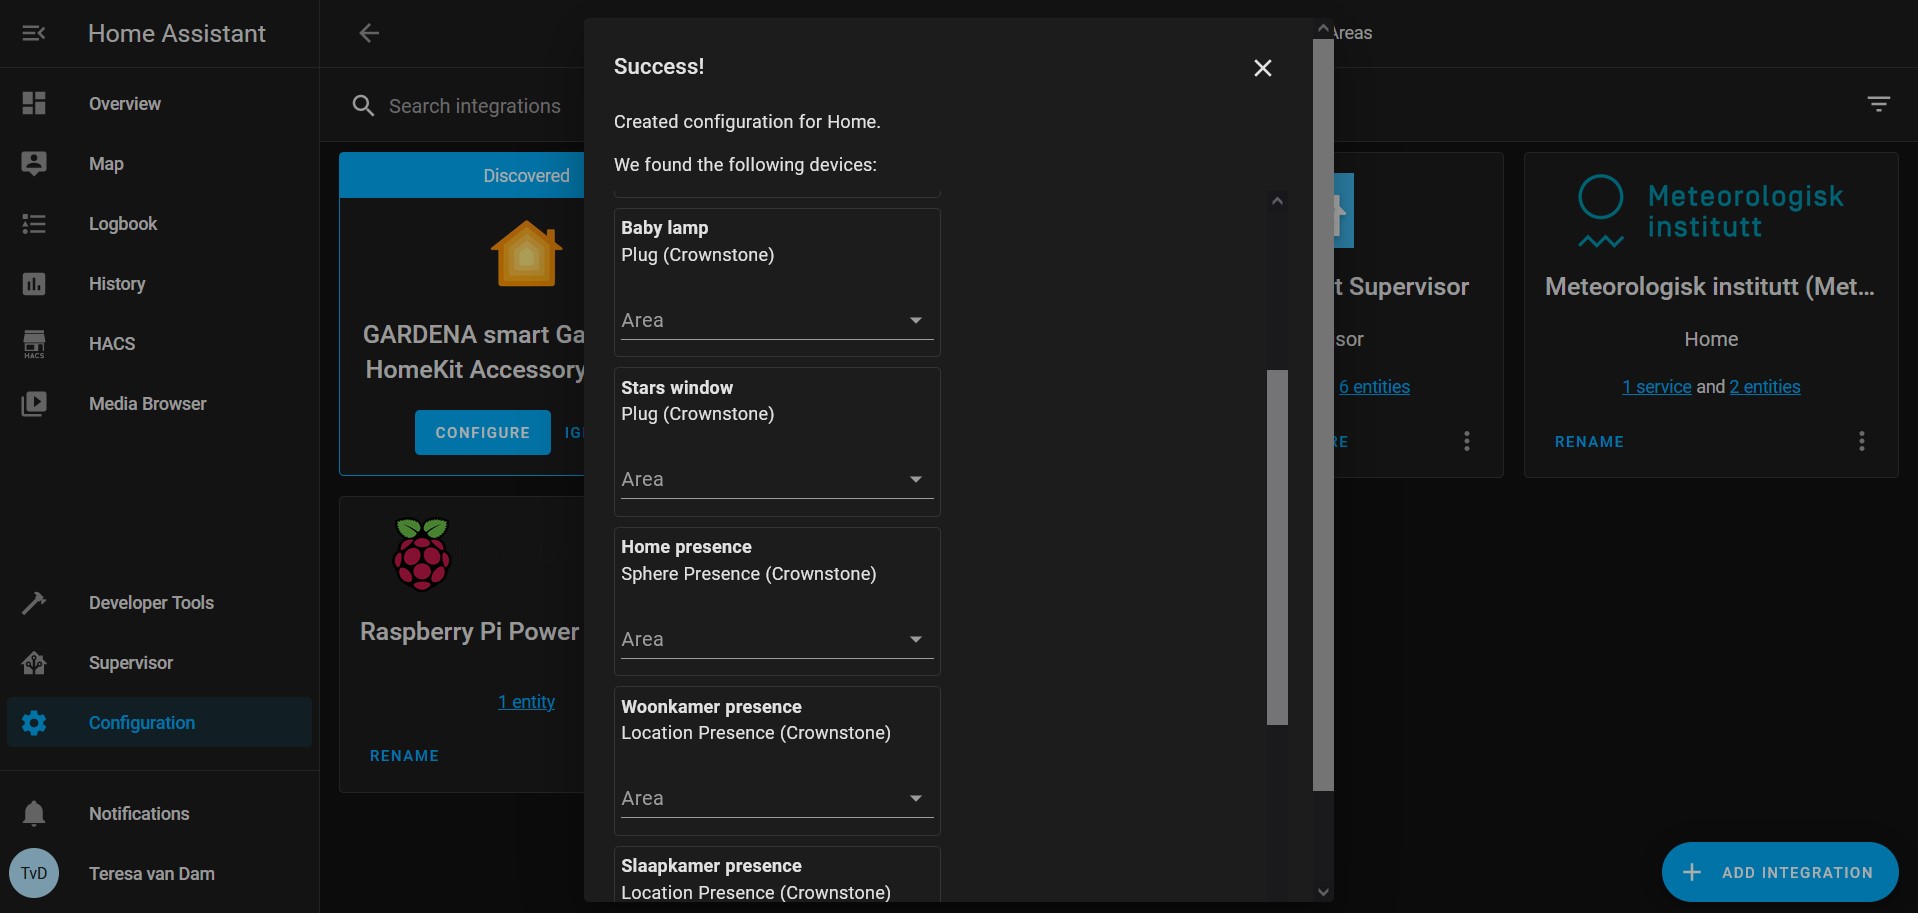
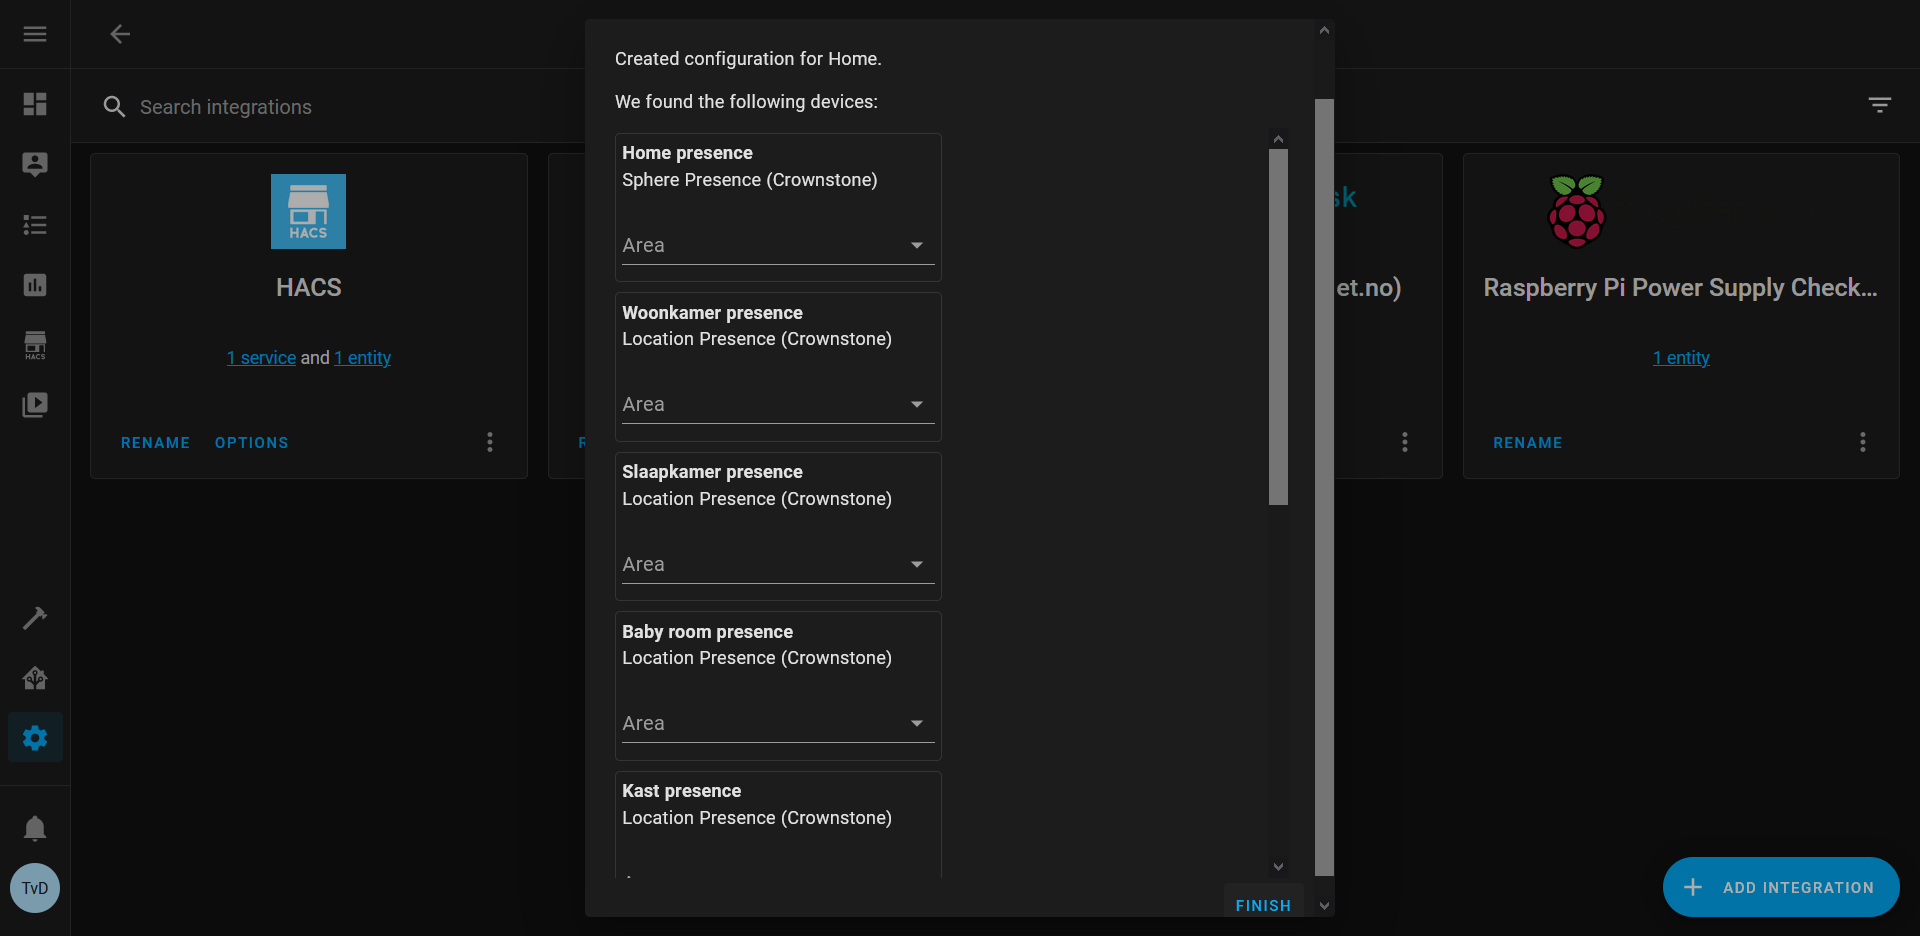
Step 9: In the window that pops up you can see the devices that have been added to Home Assistant. Check if all of your devices have been included. You can also add your devices to a Home Assistant area if you wish. Next, click on Finish.
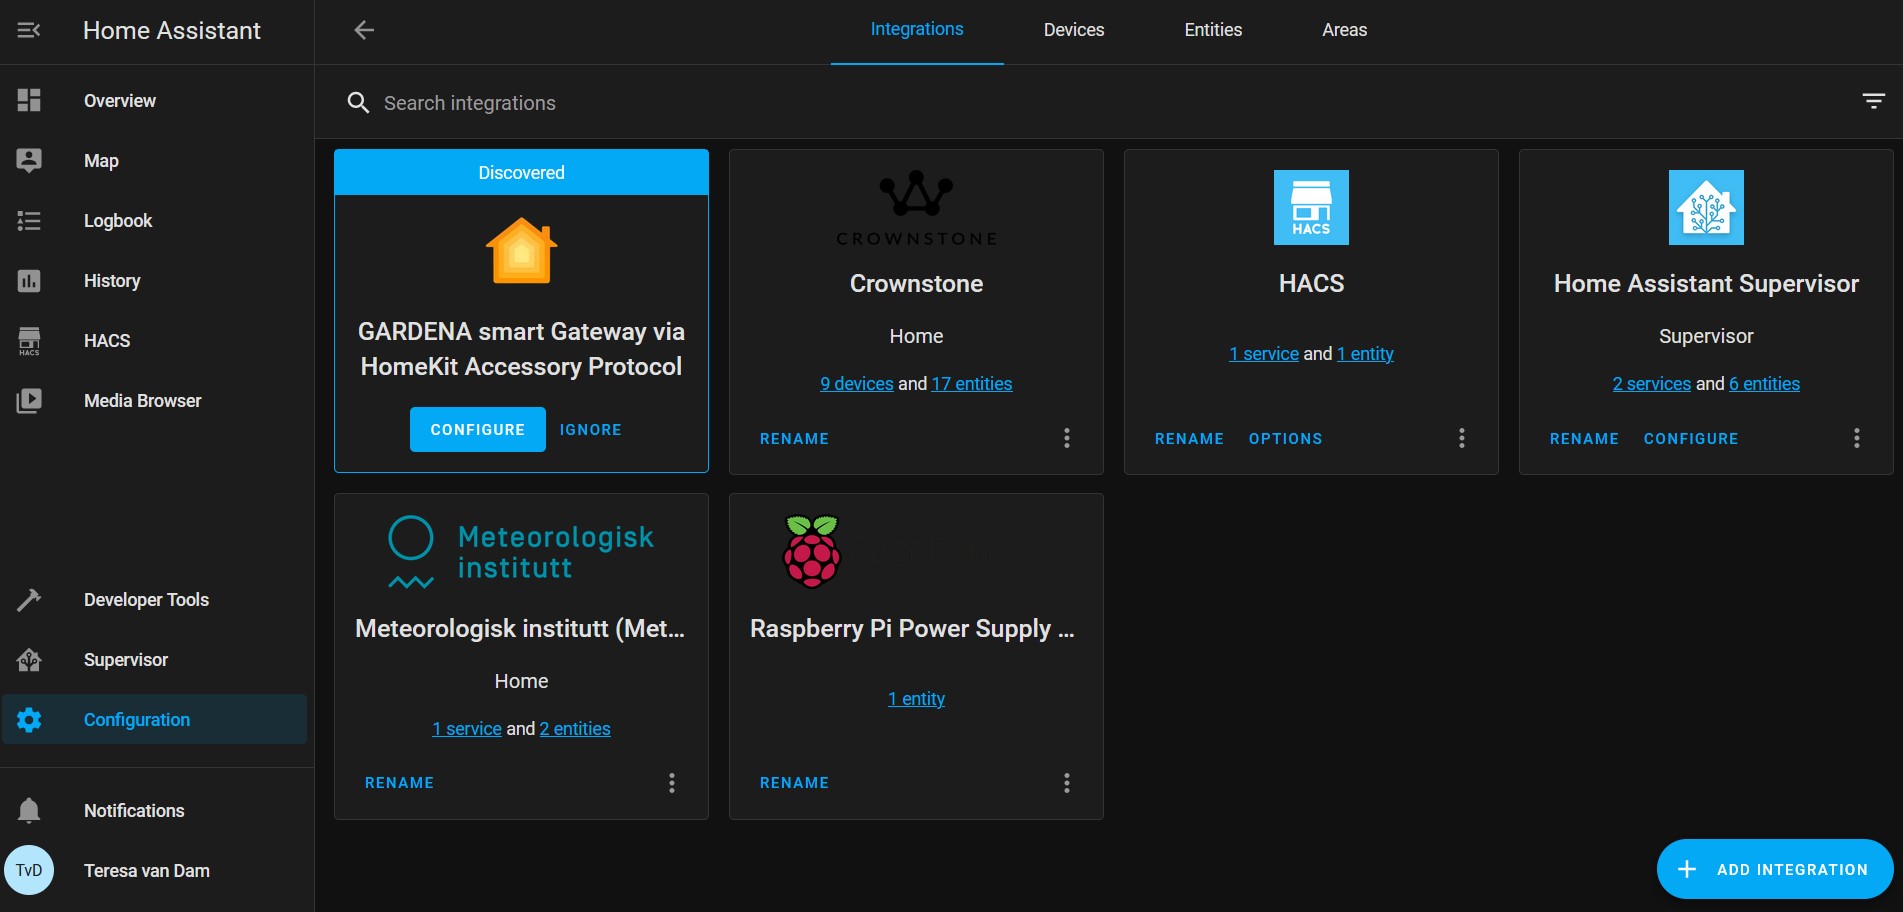
Step 10: Now you can visualize Crownstone as part of your Integrations.
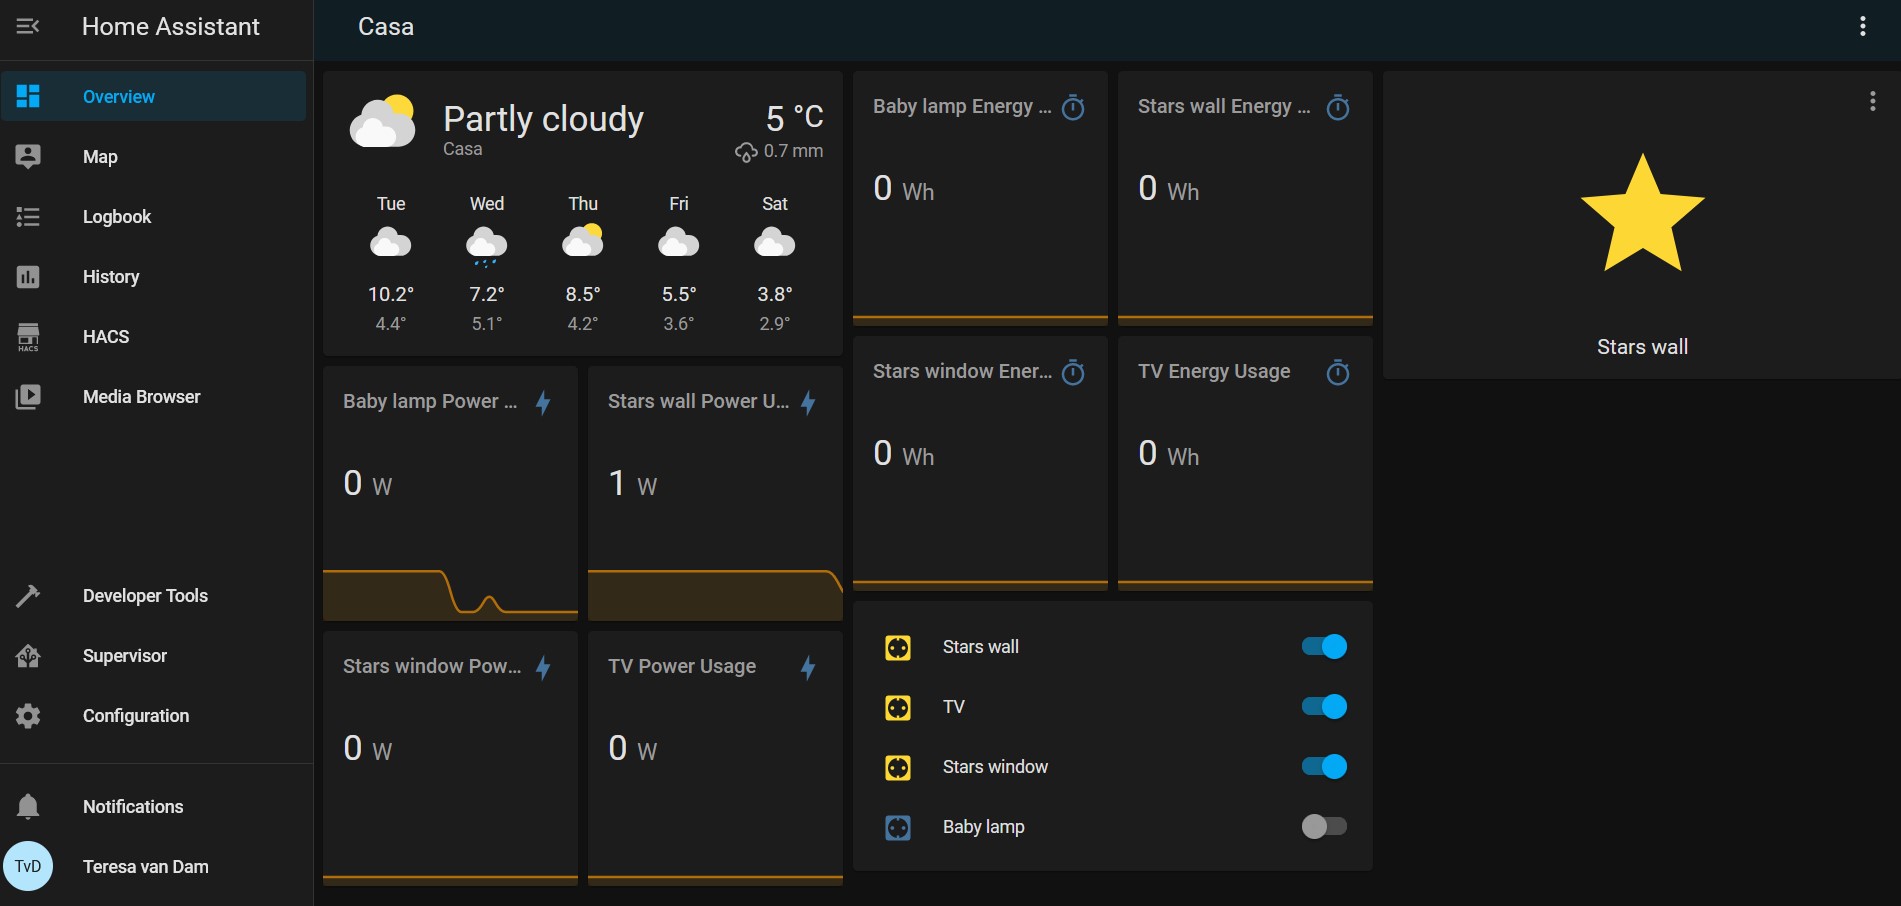
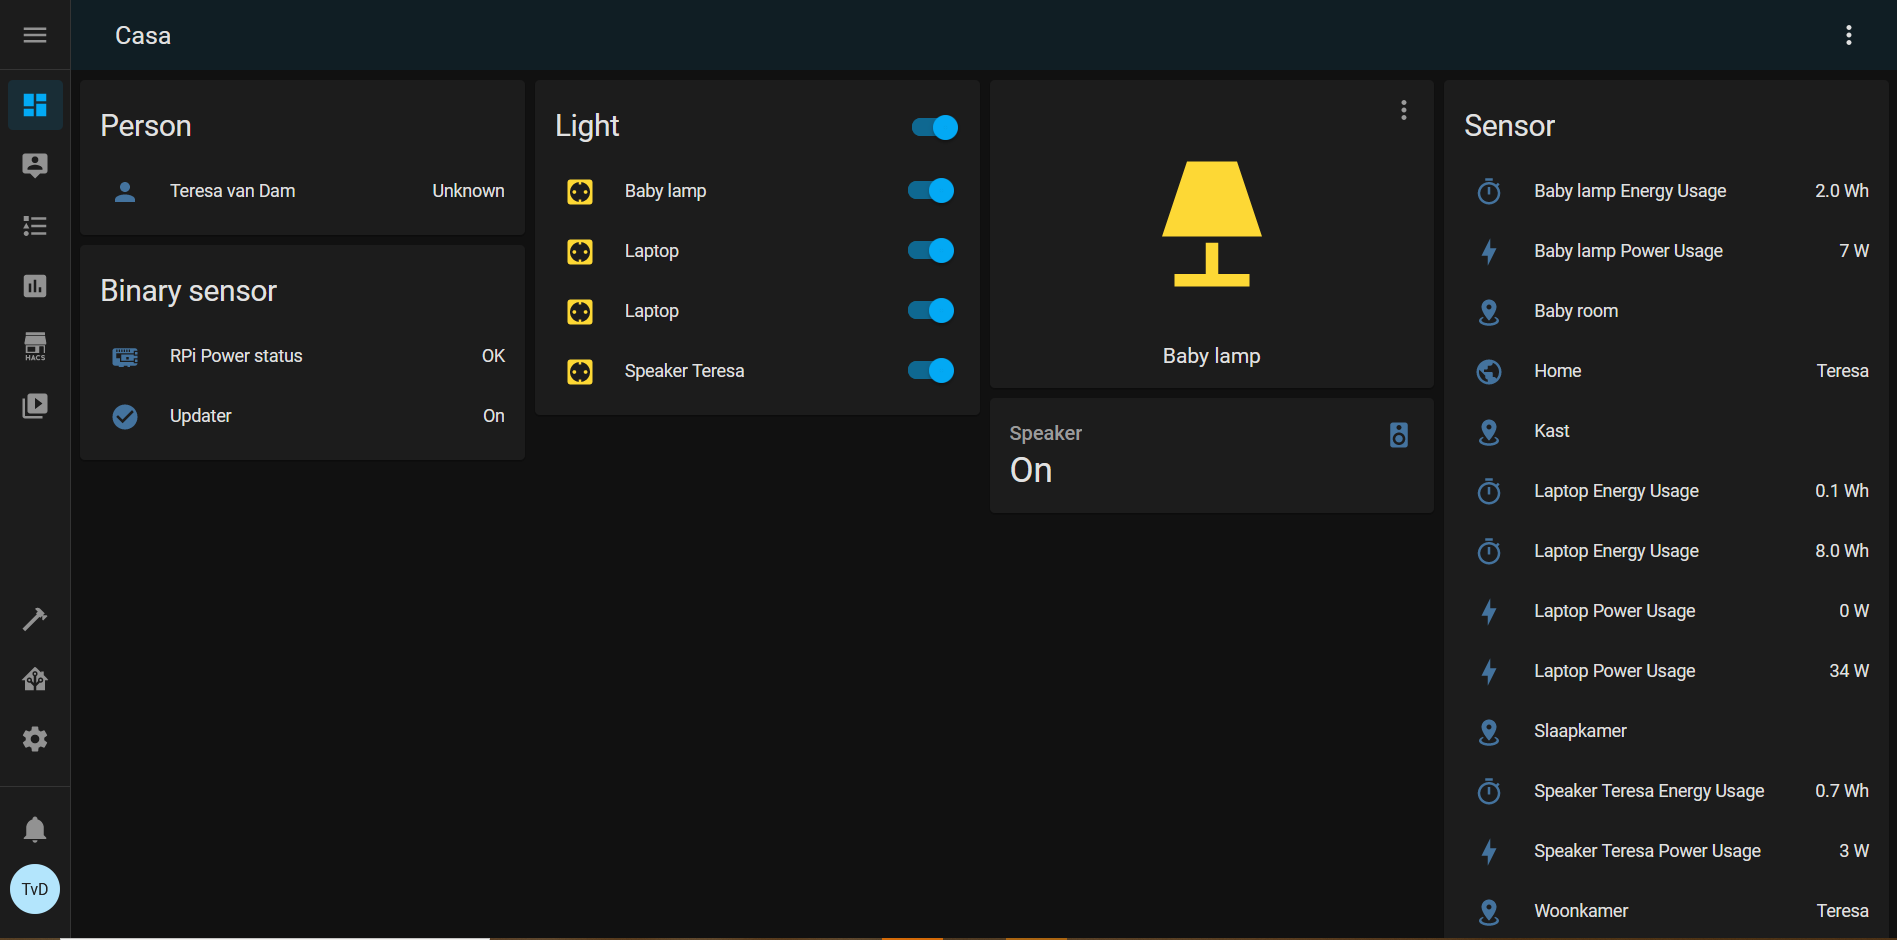
Step 11: Once the setup is complete, you can go to your Overview, click on the 3 dots button at the top right corner and click on Edit Dashboard. From there you can add cards for your new Crownstone entities. Be creative!
Recommended cards:
- Dimmable lights: Light card for each entity
- Presence entities (house, living room): Glance card
- Rest of the Crownstones: Entities card
- Energy usage / Power usage entities: Grid card with Sensor card for each entity
Option 2: Through HACS
Installing HACS
Follow the instructions on the HACS website for the type of Home Assistant you are running.
Enabling HACS
Go to this page to configure and enable HACS. This action requires a GitHub account. If you don’t have a GitHub account yet, you can sign up here. Make sure your browser cache for the Home Assistant page is cleared, otherwise HACS might not show up.
Adding the Crownstone integration in HACS
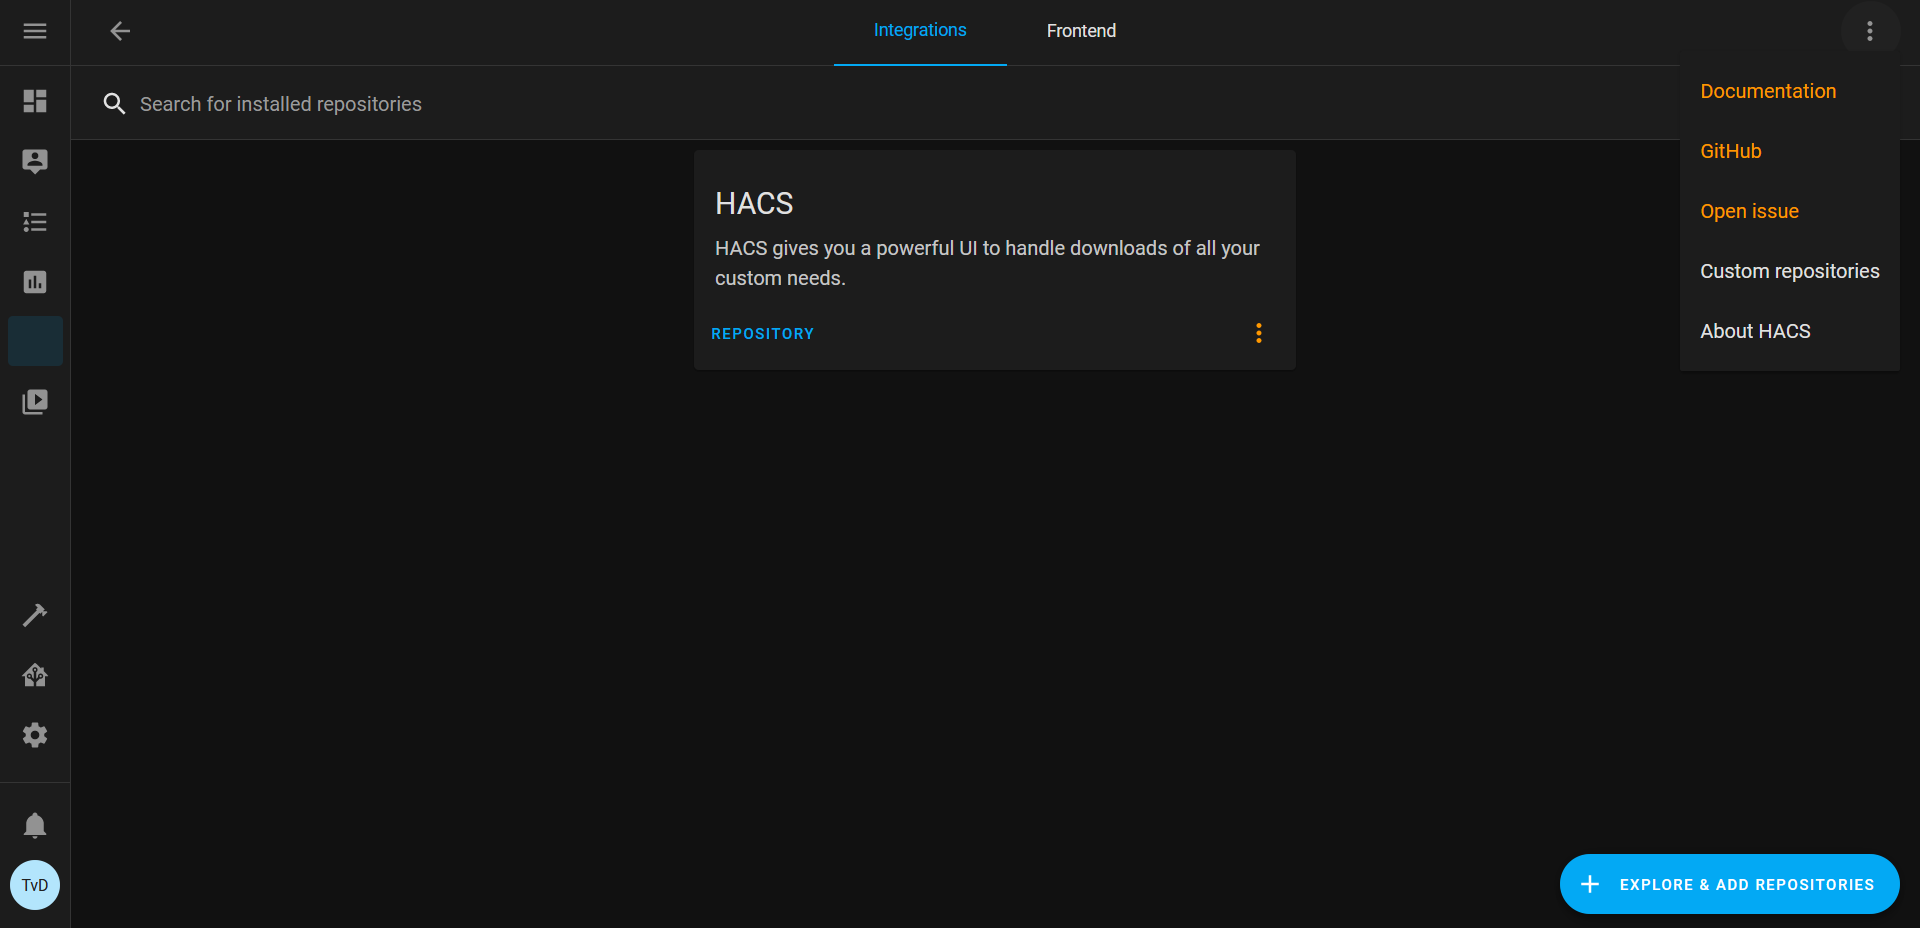
Step 1: Click on the 3 dots at the top right corner and click on Custom repositories
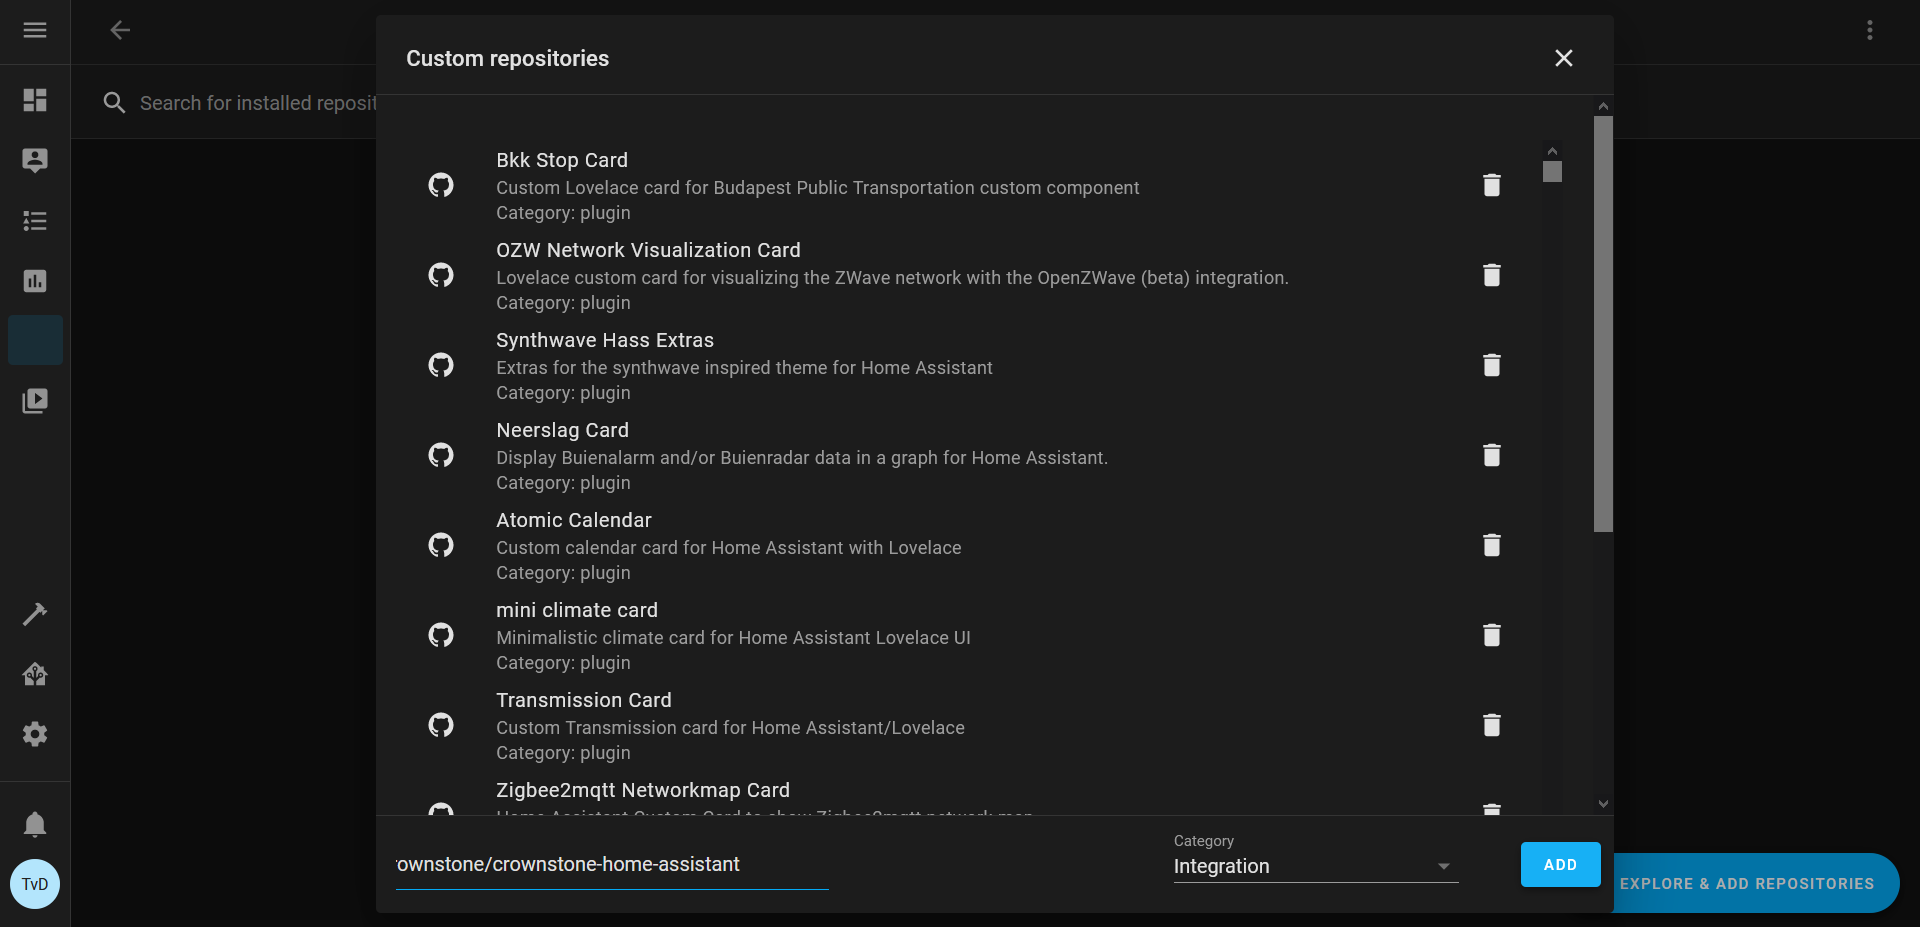
Step 2: Add the following link at the end of the window that pops up: https://github.com/crownstone/crownstone-home-assistant. Then under “Category” select “Integration” and click on “Add”.
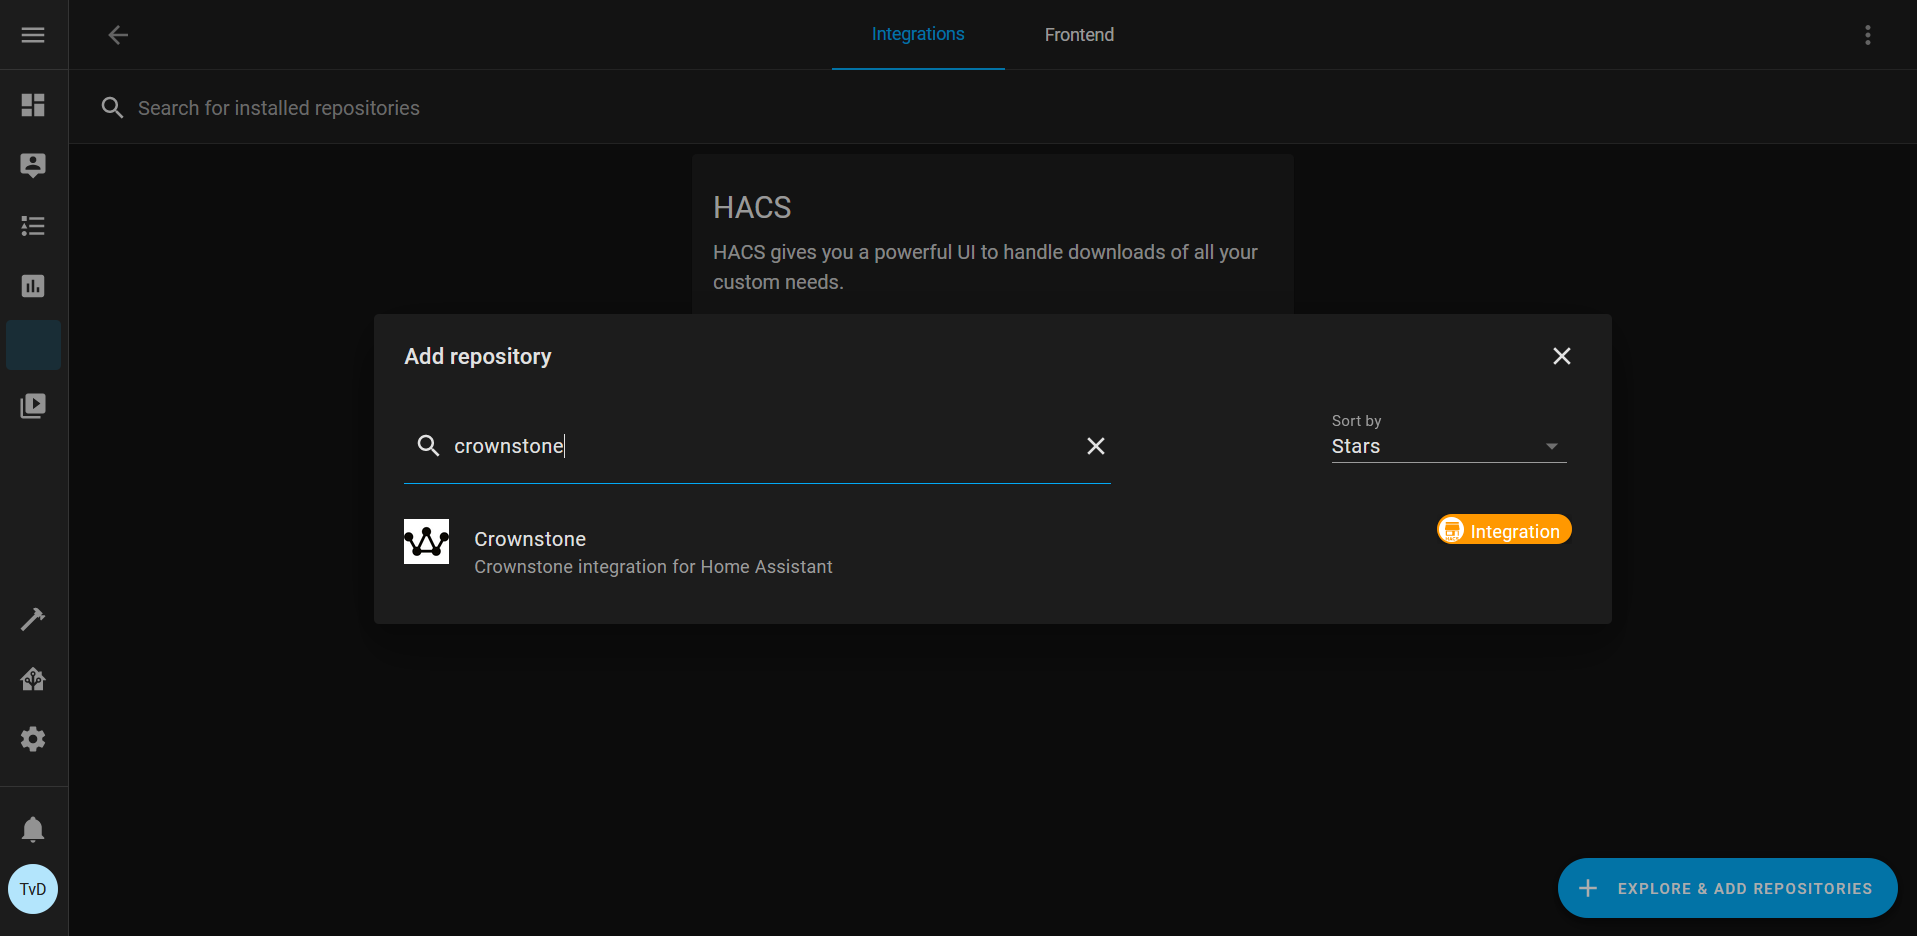
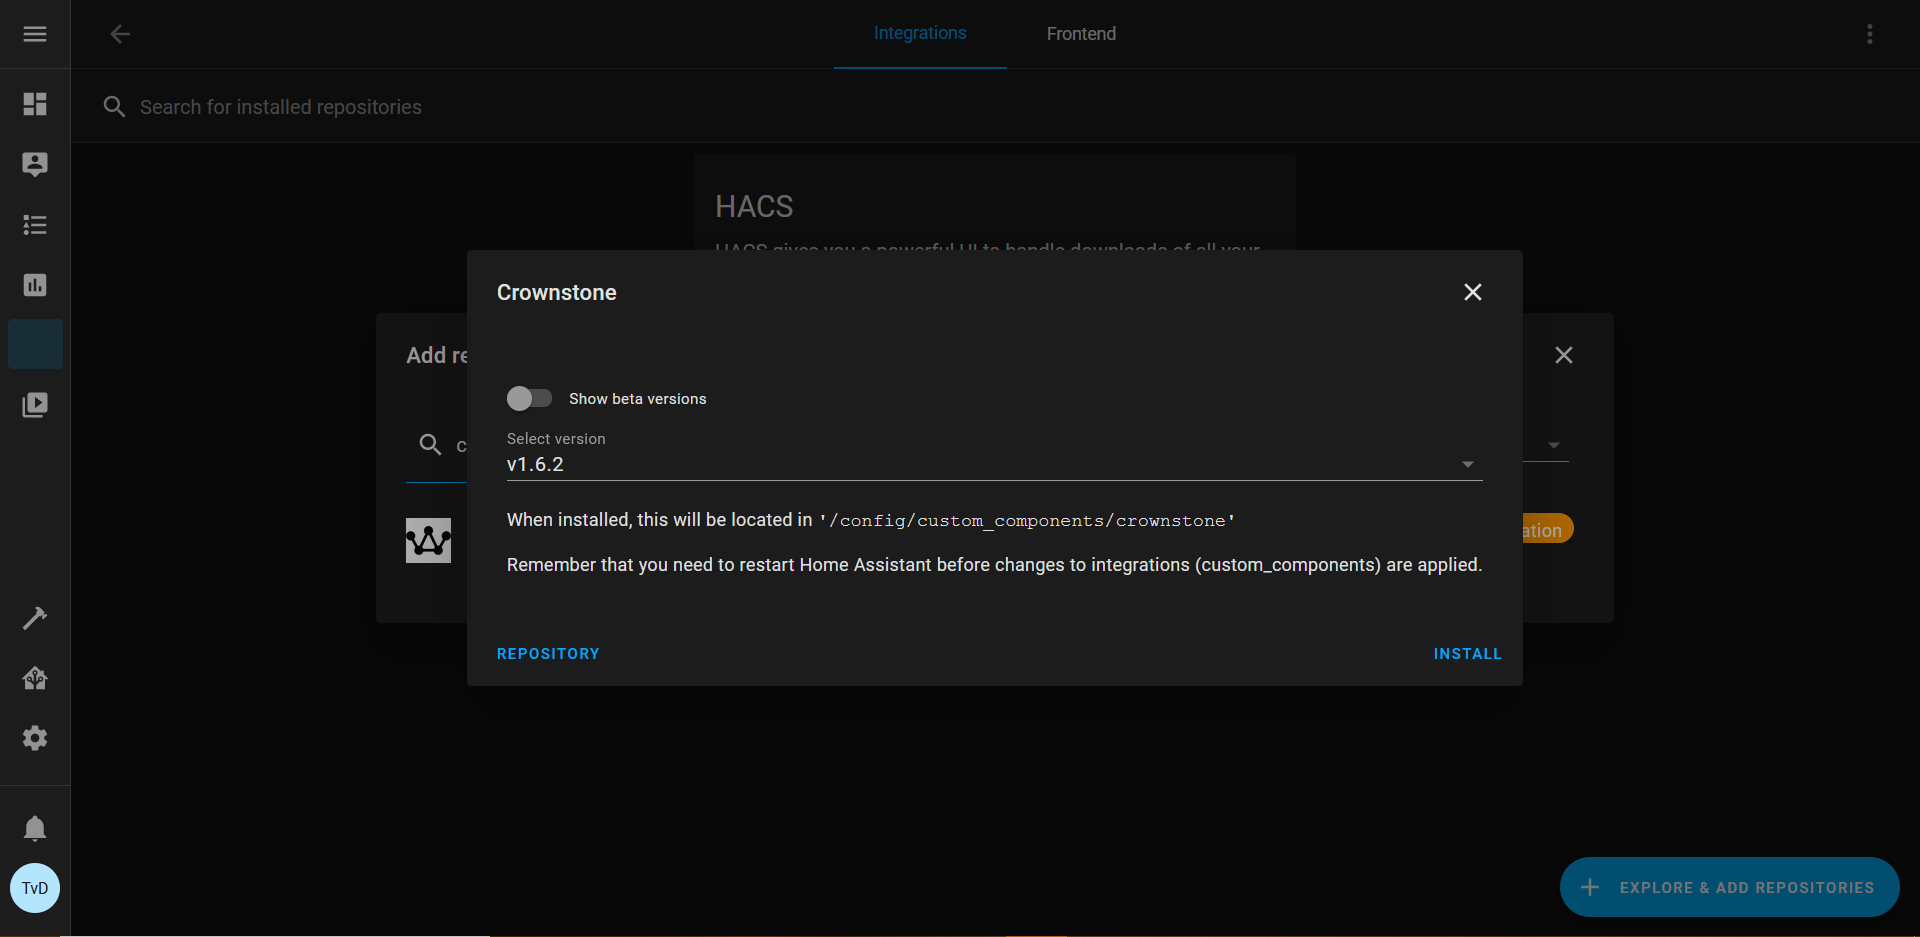
Step 3: Click on the button at the bottom right corner + Explore & Add repositories and search for Crownstone. You should be able to find the integration if the previous steps were done right.
Step 4: Select the newest version from the list, then click on “Install”. HACS will ask you to restart Home Assistant to complete the installation. For this, simply go to Configuration -> Server Controls -> Restart.
Setting up the Crownstone integration
Step 1: Go to Configuration -> Integrations and click on + Add Integration. Search for Crownstone in the list. If you cannot find it, make sure that the previous steps were done right.
Step 2: Enter your email and password of your Crownstone account, and click on Submit. If you have created multiple spheres in the Crownstone app, you can select the sphere you want to use in Home Assistant in the next step. If you have only 1 sphere, it will be selected automatically.
Step 3: Plug in the Crownstone USB Dongle. The dongle provides independent switching of Crownstones (no smartphone required) and enables the power & energy usage entities. Verify that the dongle is plugged in before continuing.
Step 4: Head over to the Crownstone app on your phone, tap the + button, select Crownstone -> Crownstone USB and follow the steps.
Step 5: After plugging in your dongle in one of your computer’s USB ports (e.g. Raspberry Pi 4), click on Submit.
Step 6: In the window that pops up you can see the devices that have been added to Home Assistant. Check if all of your devices have been included. You can also add your devices to a Home Assistant area if you wish. Next, click on Finish.
Step 7: Once the setup is complete, you can go to your Overview, click on the 3 dots button at the top right corner and click on Edit Dashboard. From there you can add cards for your new Crownstone entities. Be creative!
Recommended cards:
- Dimmable lights: Light card for each entity
- Presence entities (house, living room): Glance card
- Rest of the Crownstones: Entities card
- Energy usage / Power usage entities: Grid card with Sensor card for each entity
Additional information
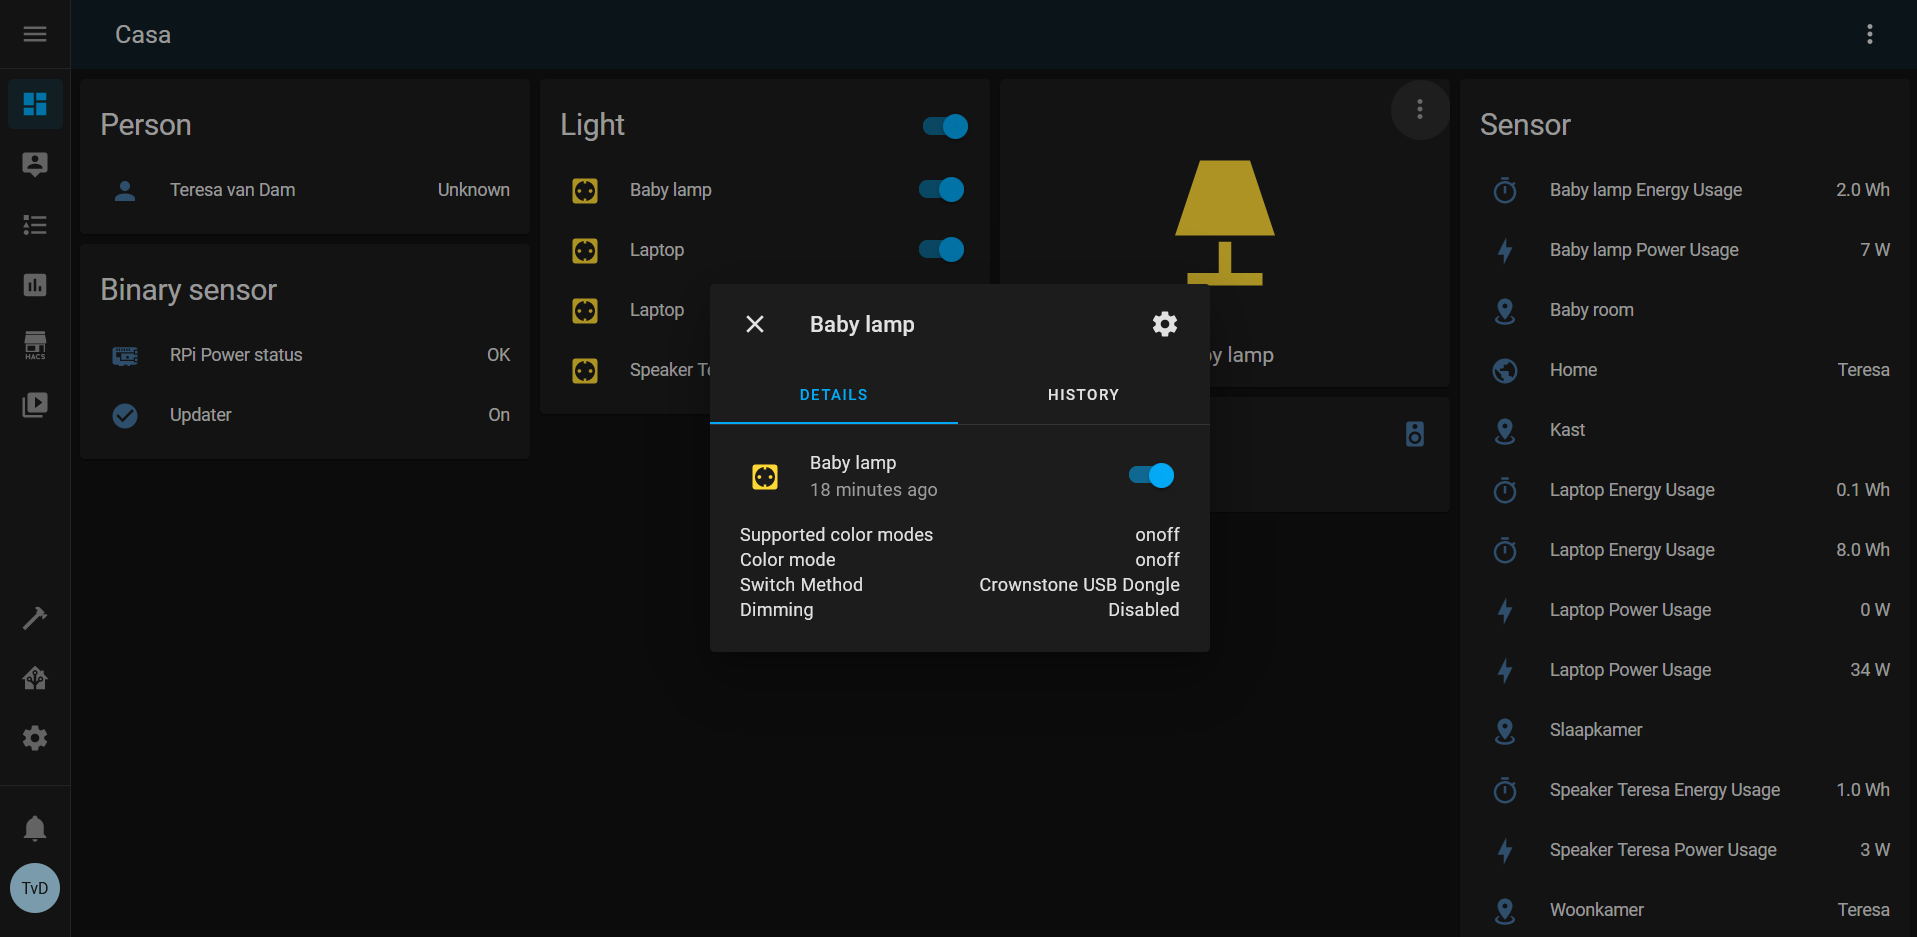
Entities: When you click on an entity in the Overview you can see more details. For Crownstones you can see if the Crownstone Cloud or Crownstone USB Dongle is used for switching, as well as the state of the abilities.
Energy usage: Clicking on an Energy usage entity shows the date/time when the energy measurement started along with the date/time of the last update. Energy updates usually come in every minute.

Creating Automations
Presence
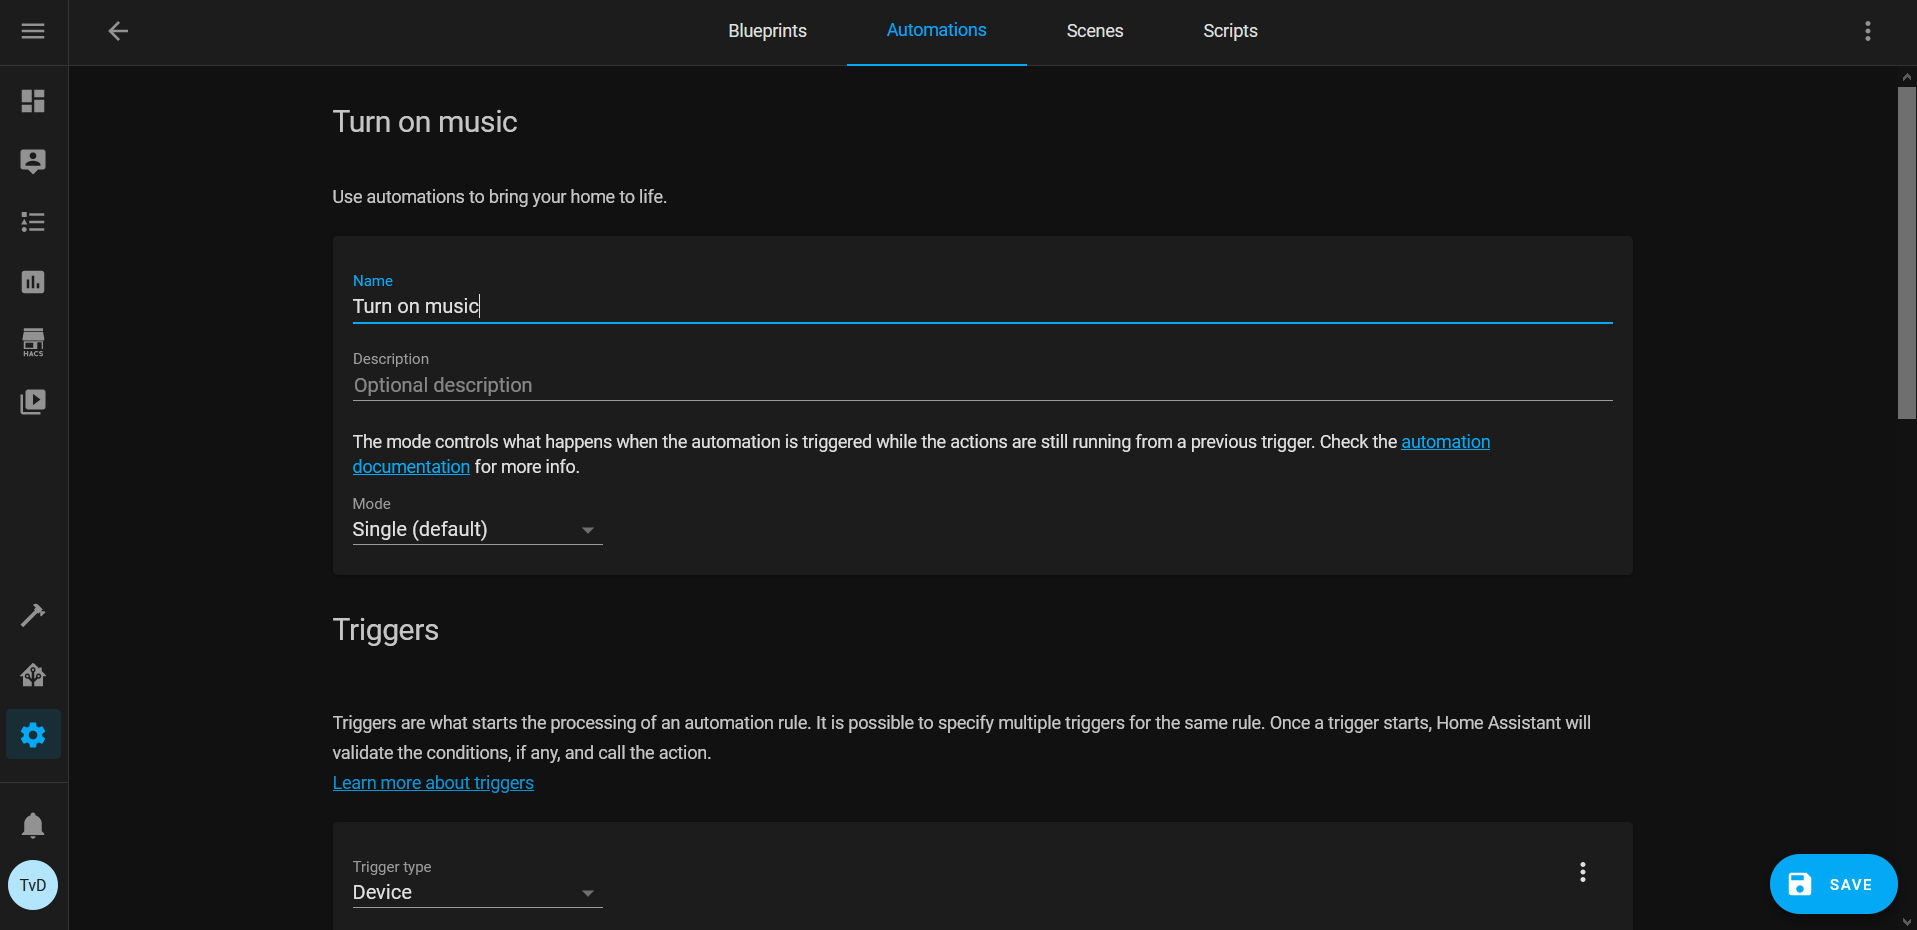
In this example, we create an automation that starts playing a Spotify playlist on a Google Nest Mini when a specific person enters the living room.
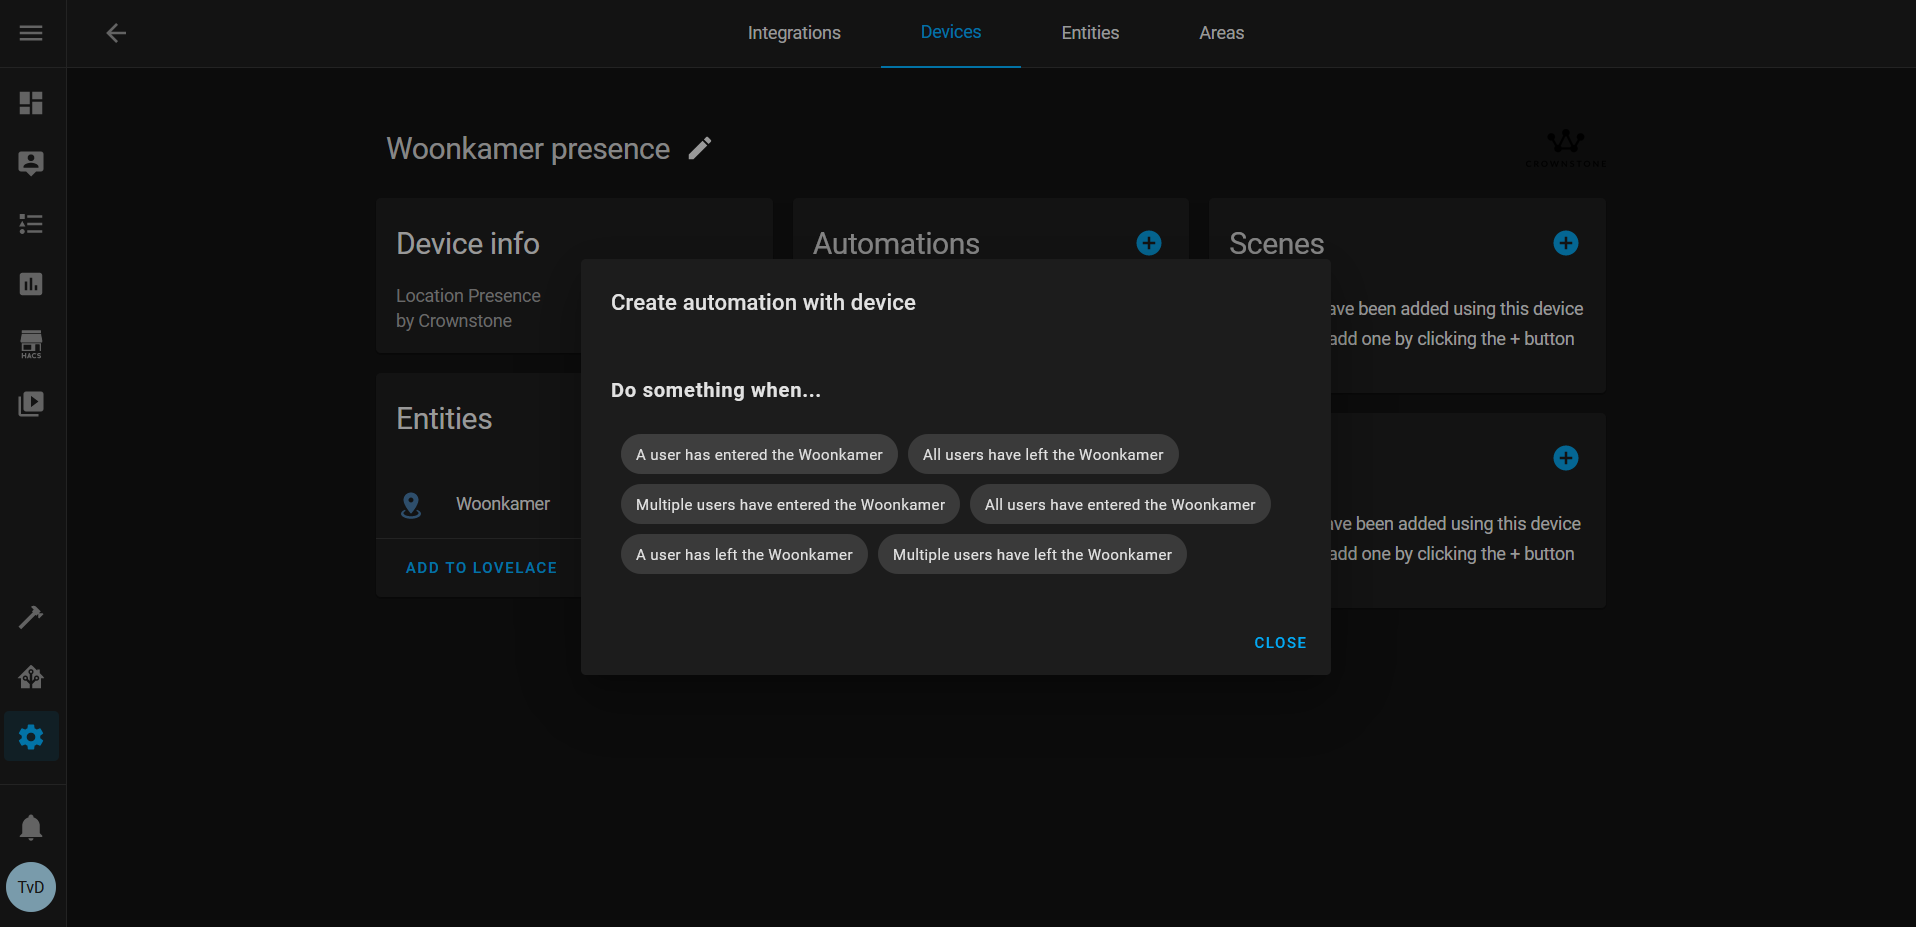
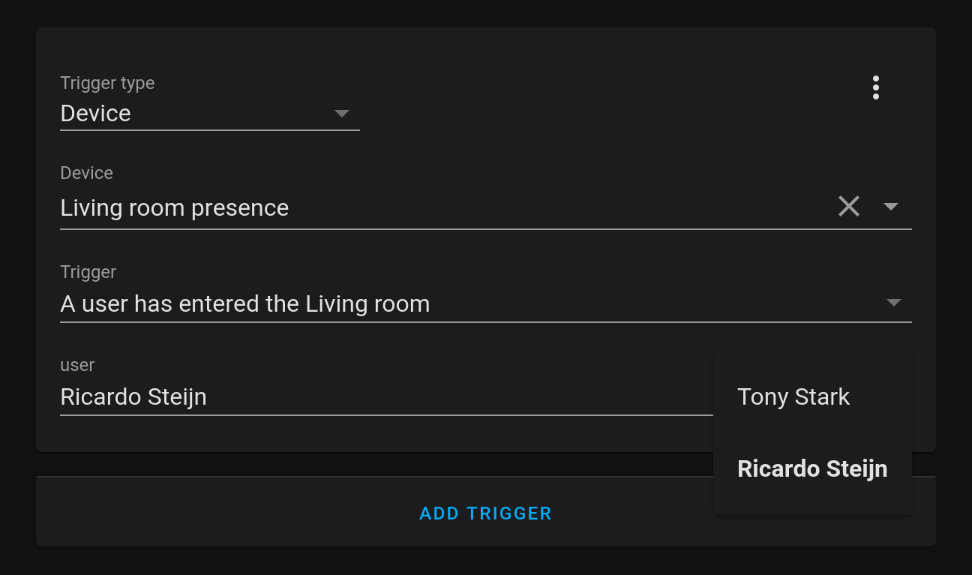
Step 1: Select a Location Presence device under Configuration -> Devices. Click the + button from the Automations section. In the window that pops up you can choose from 6 different trigger types. For our example, we will select the “A user has entered the Living room” trigger.
Step 2: In the next window, give your automation a name and a description (optional).
Step 3: In the trigger section, at the user field, select a user whose presence (i.e. when entering the room) will trigger this action.
Clicking on the user field will show all the users who are in your sphere. Click on a name to select that user. If you want to add a user to your sphere, you can do that directly in the Crownstone app.
Optional: A condition can be also added to your automation (i.e. the action occurs only if the condition is met). For example: Crownstone Ceiling light must be on. Date and time are also possible, for example only execute this action on saturdays.
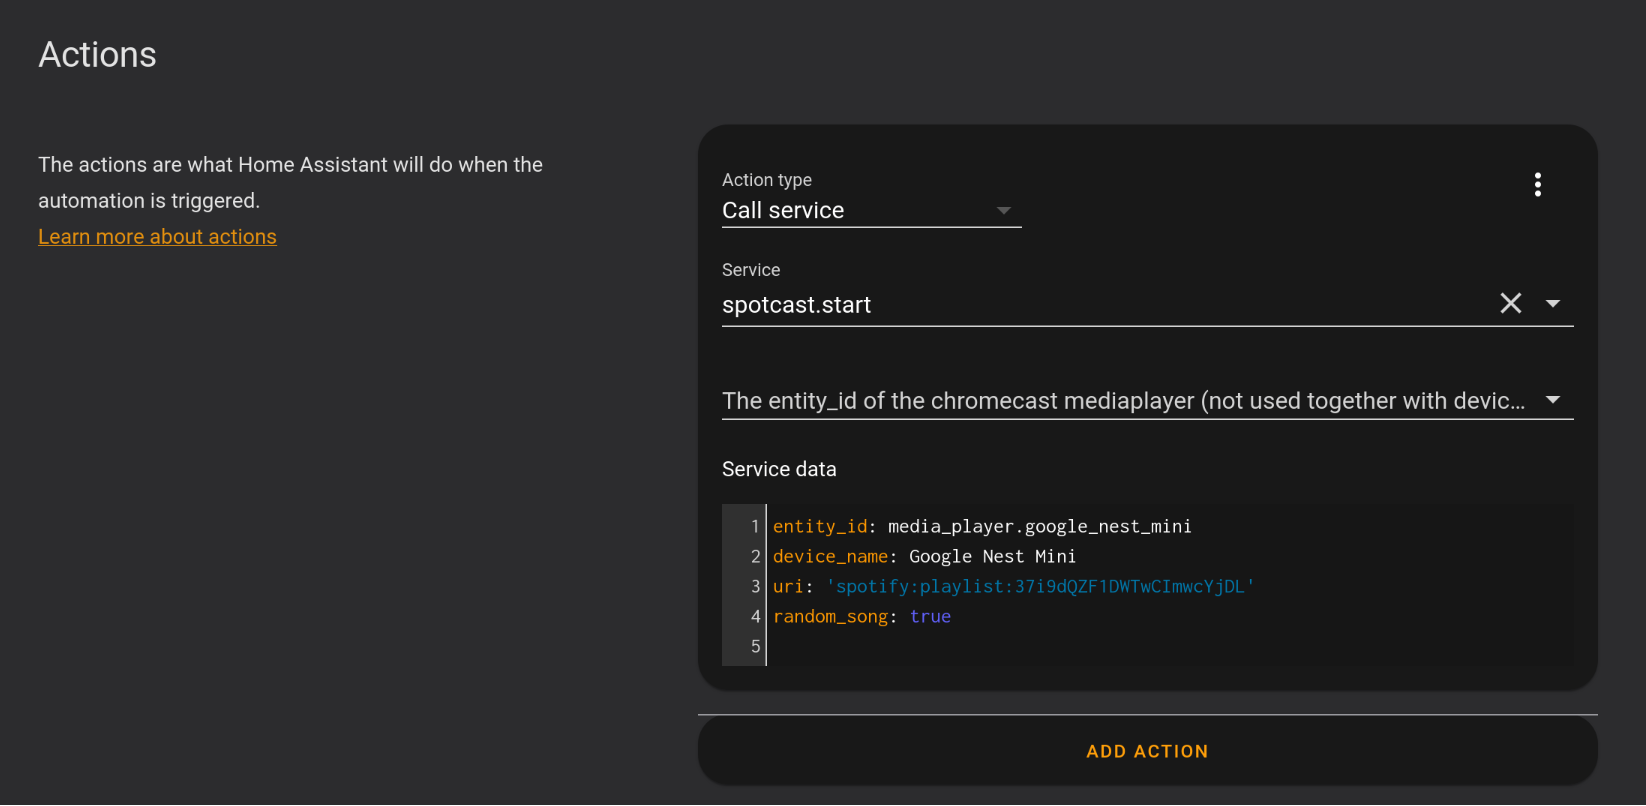
Step 4: Spotcast integration needs to be used, which can be installed from HACS. You can visit this page to enable it in your Home Assistant. Next, as action type select Call service and as service select spotcast.start which will appear in the list once Spotcast has been enabled.
In the service data section you’ll need to provide the entity ID and device name of your Google cast device. You can find those in Entities and Devices in the Configuration tab. Lastly, you need to provide an URI to the Spotify playlist, which can be found in Spotify by going to the playlist options -> Share -> Copy Spotify URI. Optionally you can provide “random_song” to turn on shuffle.
More information
You can go to this page to check some of the most frequent questions among Home Assistant users when setting up the integration with Crownstone.

