Steps to install your Crownstone behind a single socket
If at any point you are unsure of what to do, stop installation immediately and contact an electrician.
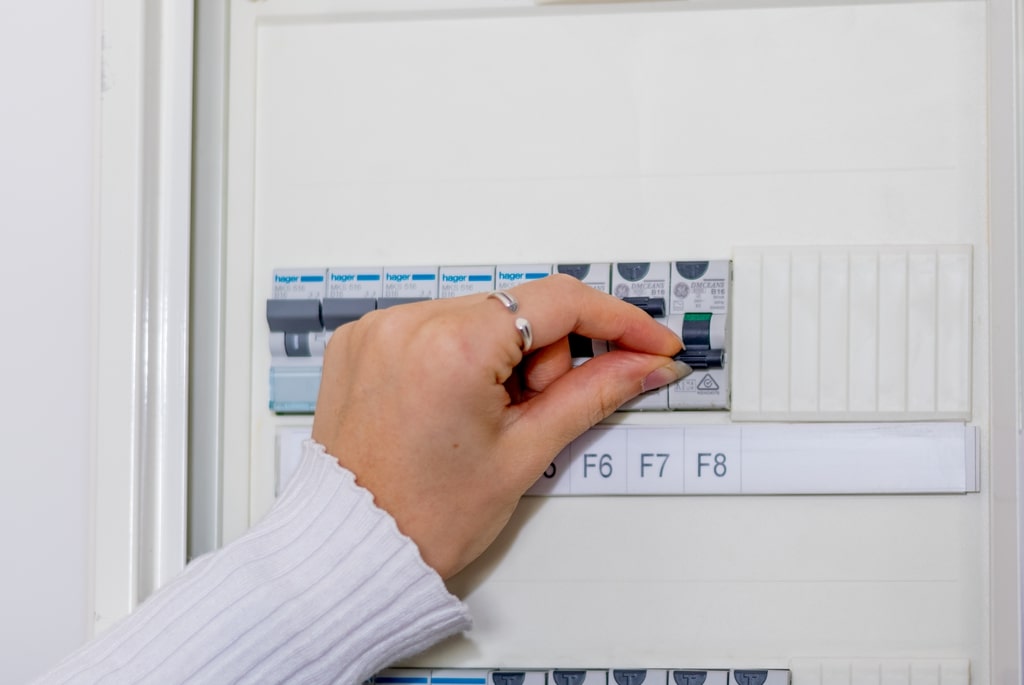
Step 1:
Before installing your built-in Crownstones, turn off the power at the fuse box.
Step 2:
Remove the cover from the socket. This can be done by loosening the screw in the middle of the socket.
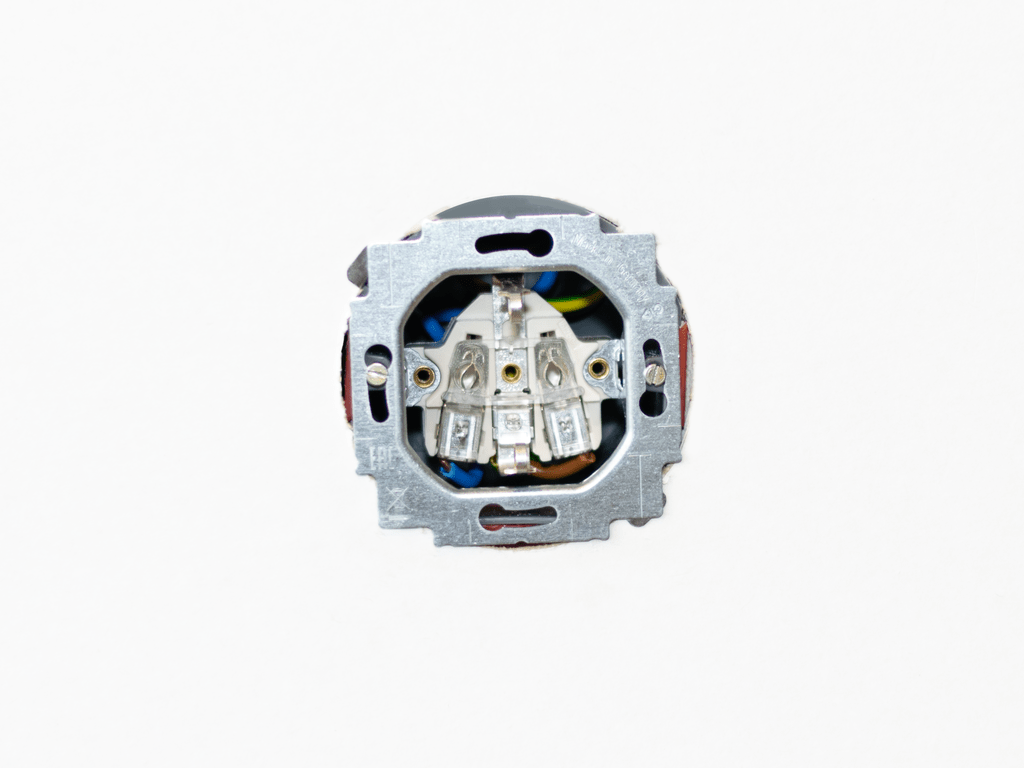
Step 3:
Unplug the metal frame from the power outlet. This can be done by loosening the screws on the left and right.
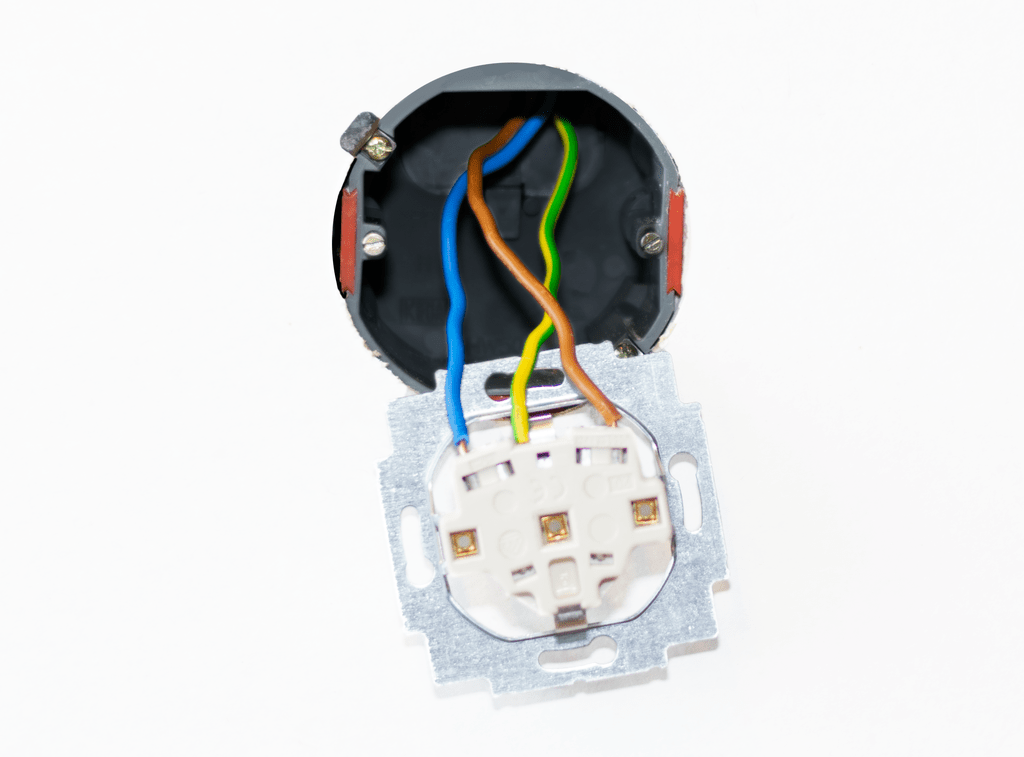
Step 4:
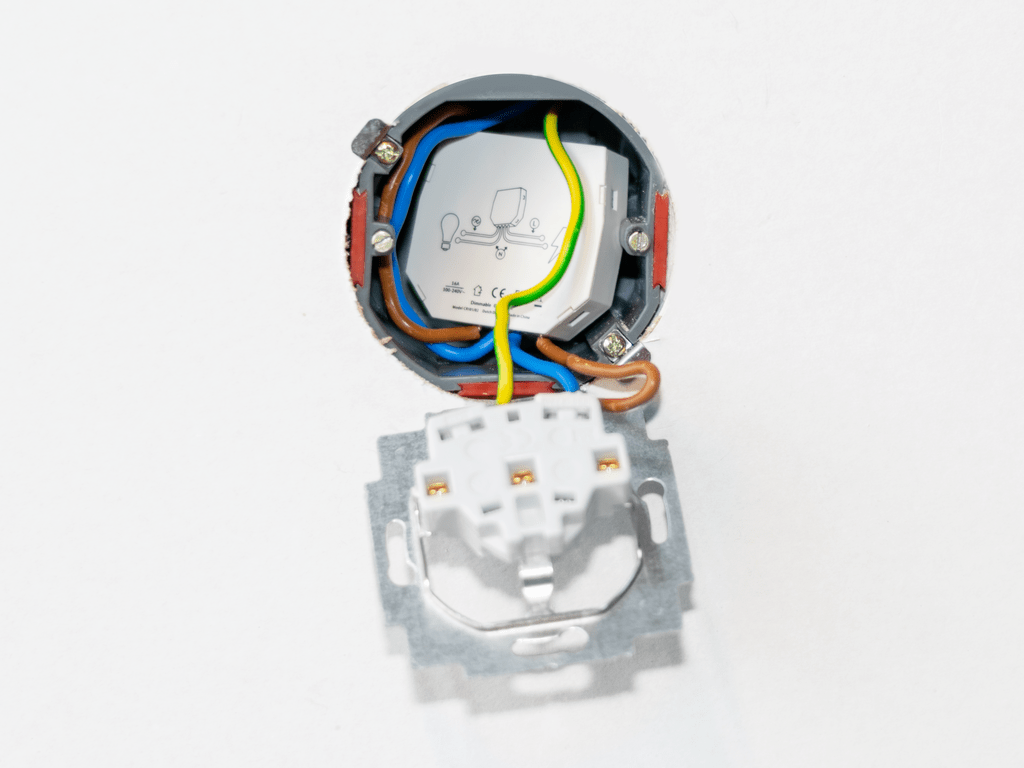
Disconnect the wires.
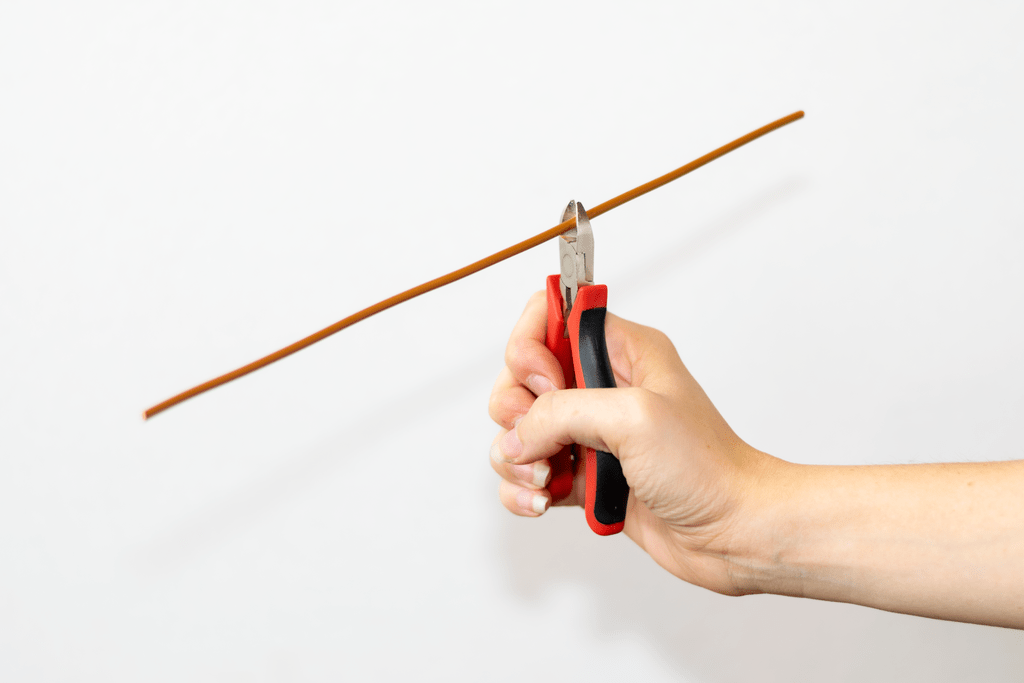
Step 5:
Cut a blue and a brown wire to length. Something about 10-15 cm.
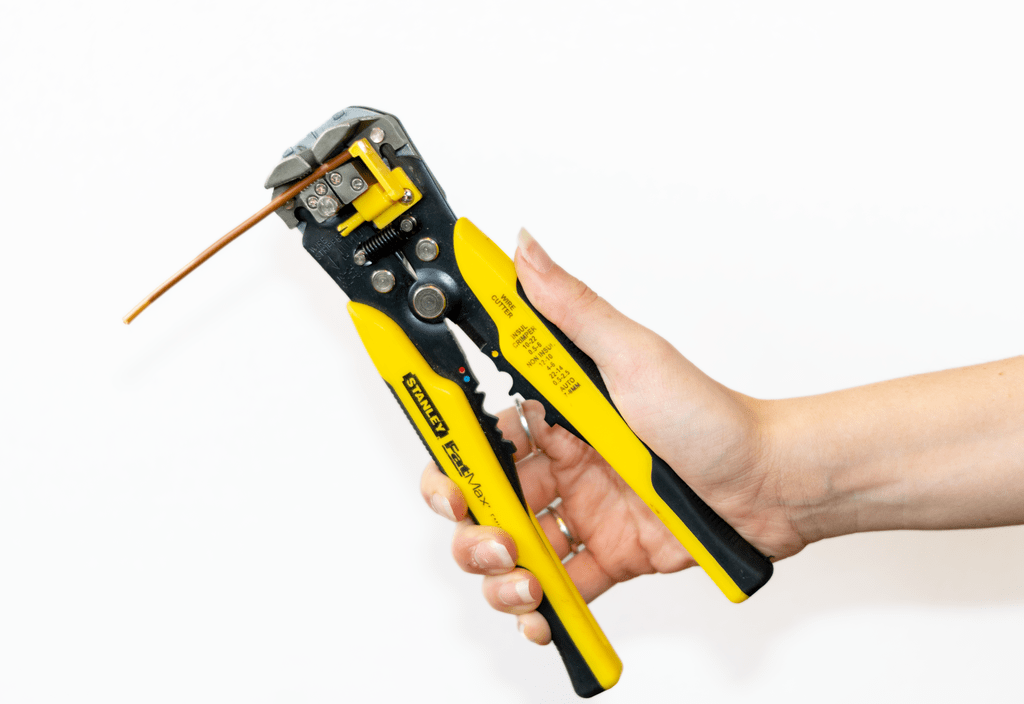
Step 6:
Strip a blue and a brown wire about 9 mm on each side.
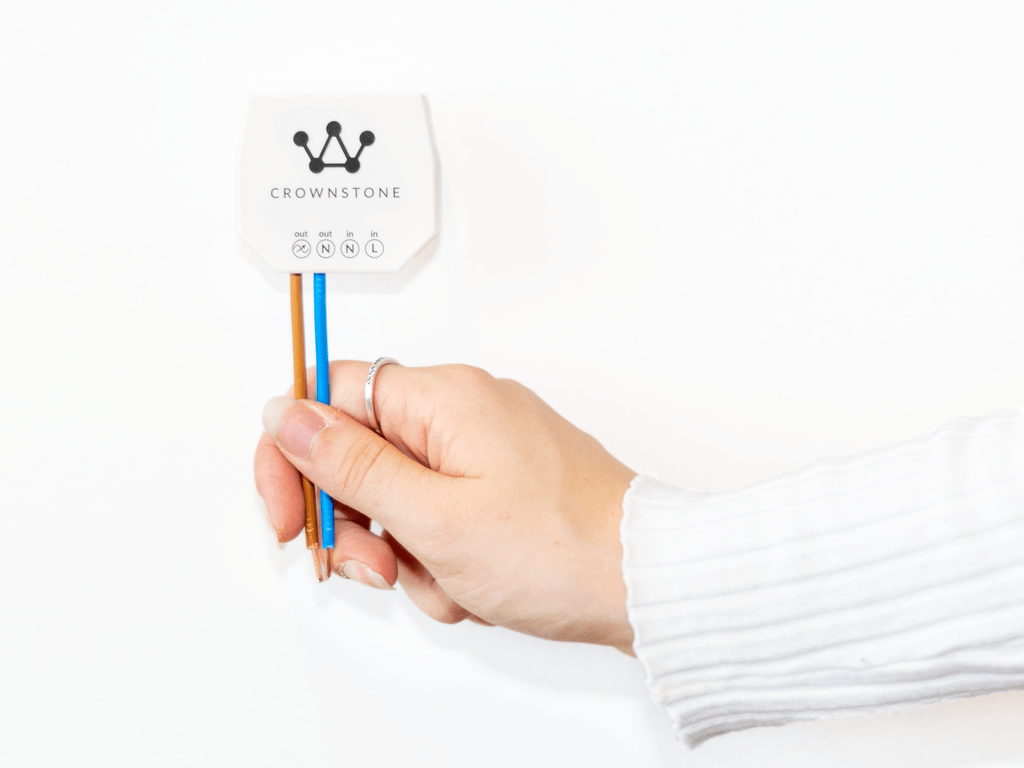
Step 7:
Plug the brown wire into “out/phase”. Plug the blue wire into “out/N” of neutral.
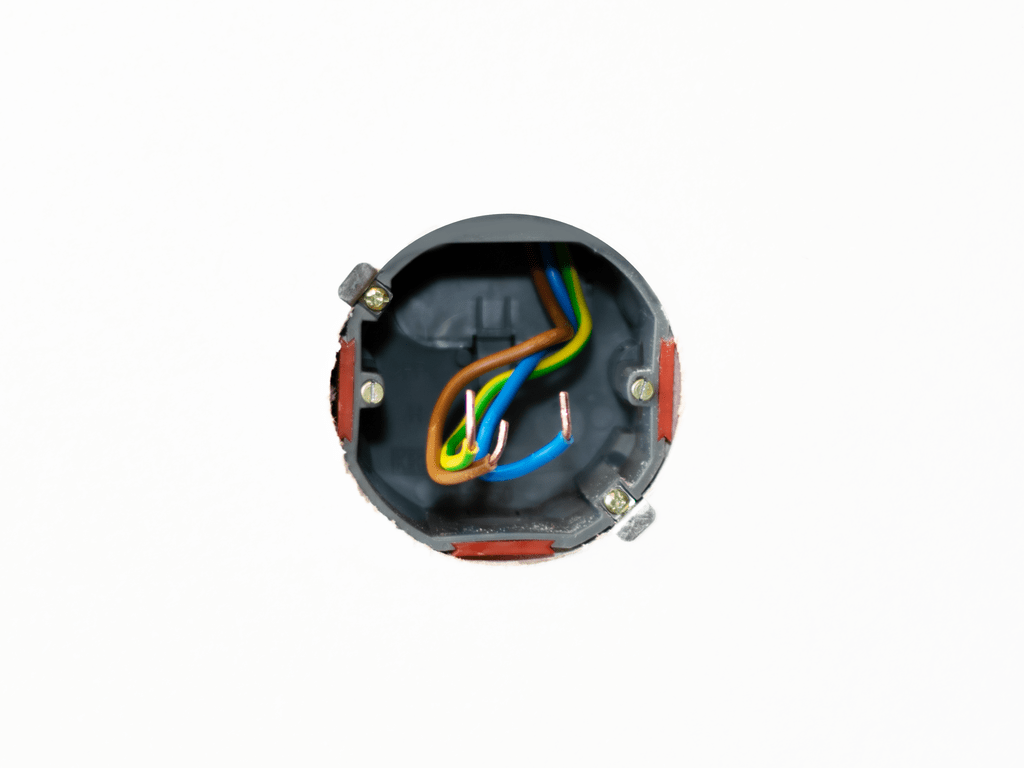
Step 8:
From the wires coming out of the wall, insert the brown wire into “in/L” of line and the blue wire into “in/N” of neutral.
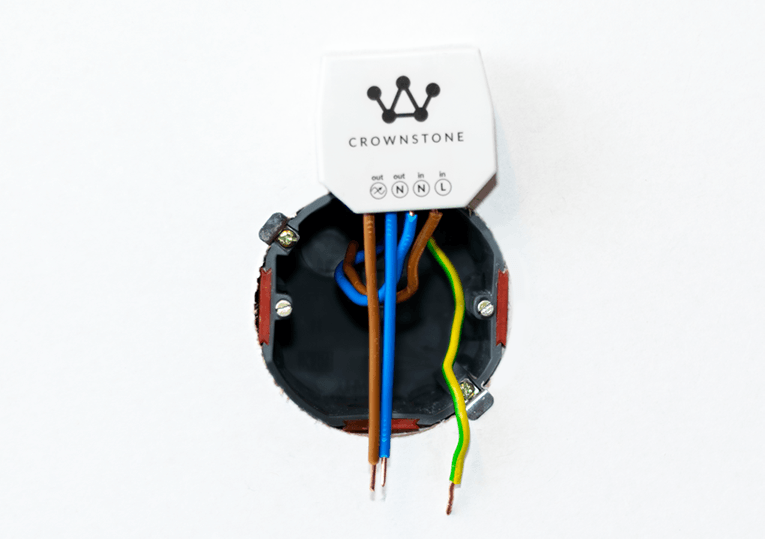
Step 9:
Carefully push the Crownstone back into the wall box a bit and plug the wiring back into the socket. Note that the ground wire goes to the “ground” connector.
The brown and blue wire can be in neutral and phase on the socket. So you see that the ground wire is not connected to the Crownstone itself (this makes no sense for a device such as the Crownstone).
Step 10:
Push the Crownstone back even further and push the metal frame close to the flush-mounted box. Tight the screws on both sides well.
Step 11:
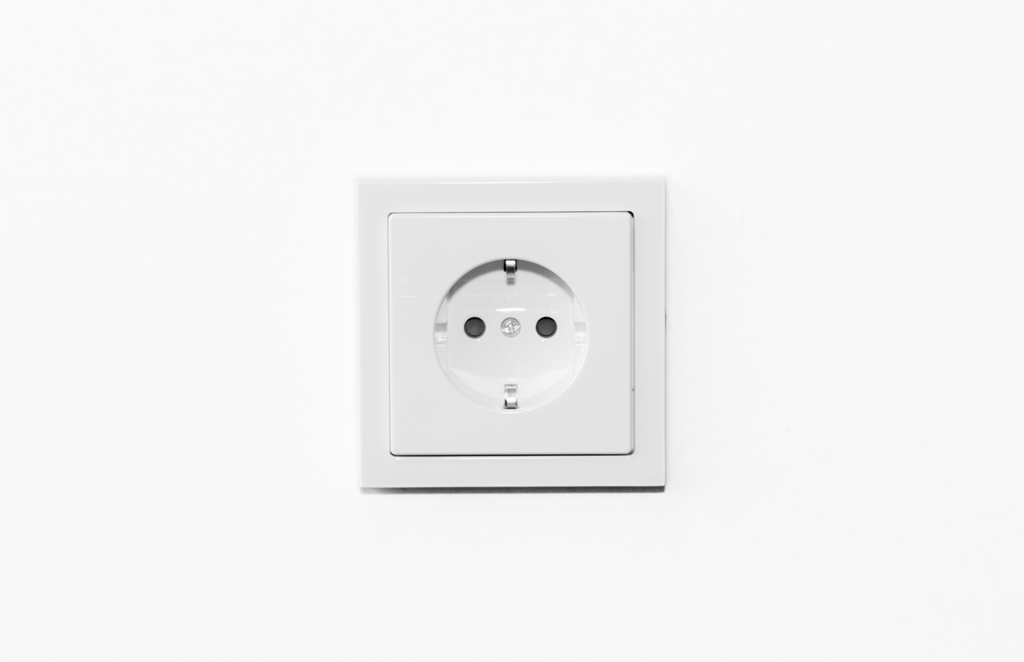
Put the cover of the socket back.
Step 12:
Put the power back on the socket and, of course, test whether the Crownstone is properly connected. The relay in the Crownstone does not necessarily have to conduct when it comes from the factory. Testing is therefore best done by configuring the Crownstone in the smartphone app.